Green Bean Casserole | Creamy, Crispy and Classic
In this article:
Why You Will Love This Recipe
Green bean casserole brings Thanksgiving nostalgia to any dinner table, and this from-scratch version tastes better than you remember. Fresh green beans stay bright and crisp tender instead of turning soft and gray like the canned kind. The mushroom cream sauce comes together in one skillet in about ten minutes and tastes like real food.
A shower of golden fried onions goes on at the very end, so every serving crackles with salty crunch. You can assemble the whole dish a day or two ahead, which makes it a lifesaver on busy holiday mornings.
It feeds a crowd from a single 9 by 13 inch dish and pairs beautifully with our maple brown butter cornbread. Even picky eaters ask for seconds, which makes it one of the safest bets on a holiday menu.
Bringing a dish to someone else’s Thanksgiving? This side travels beautifully and reheats like a dream, so bake it at home and warm it at your host’s house. The sturdy 9 by 13 inch pan fits easily into an insulated carrier. You will arrive with the dish everyone asks about, and leave with an empty pan.
Green bean casserole is the Thanksgiving side dish that vanishes from the table faster than almost anything else. Campbell’s test kitchen home economist Dorcas Reilly created it in 1955 for an Associated Press holiday feature, as Mental Floss recounts. Seventy years later it still appears at an estimated 30 million American Thanksgiving tables every year.
This version keeps everything people love about the original and fixes its weak spots. Fresh beans replace the mushy canned kind, and a silky homemade sauce replaces the condensed soup.
Planning the full spread? Pair it with our slow cooker whole chicken stuffing to free up oven space. Everything takes about 45 relaxed minutes, and the method forgives first attempts.
Taste and Texture Profile
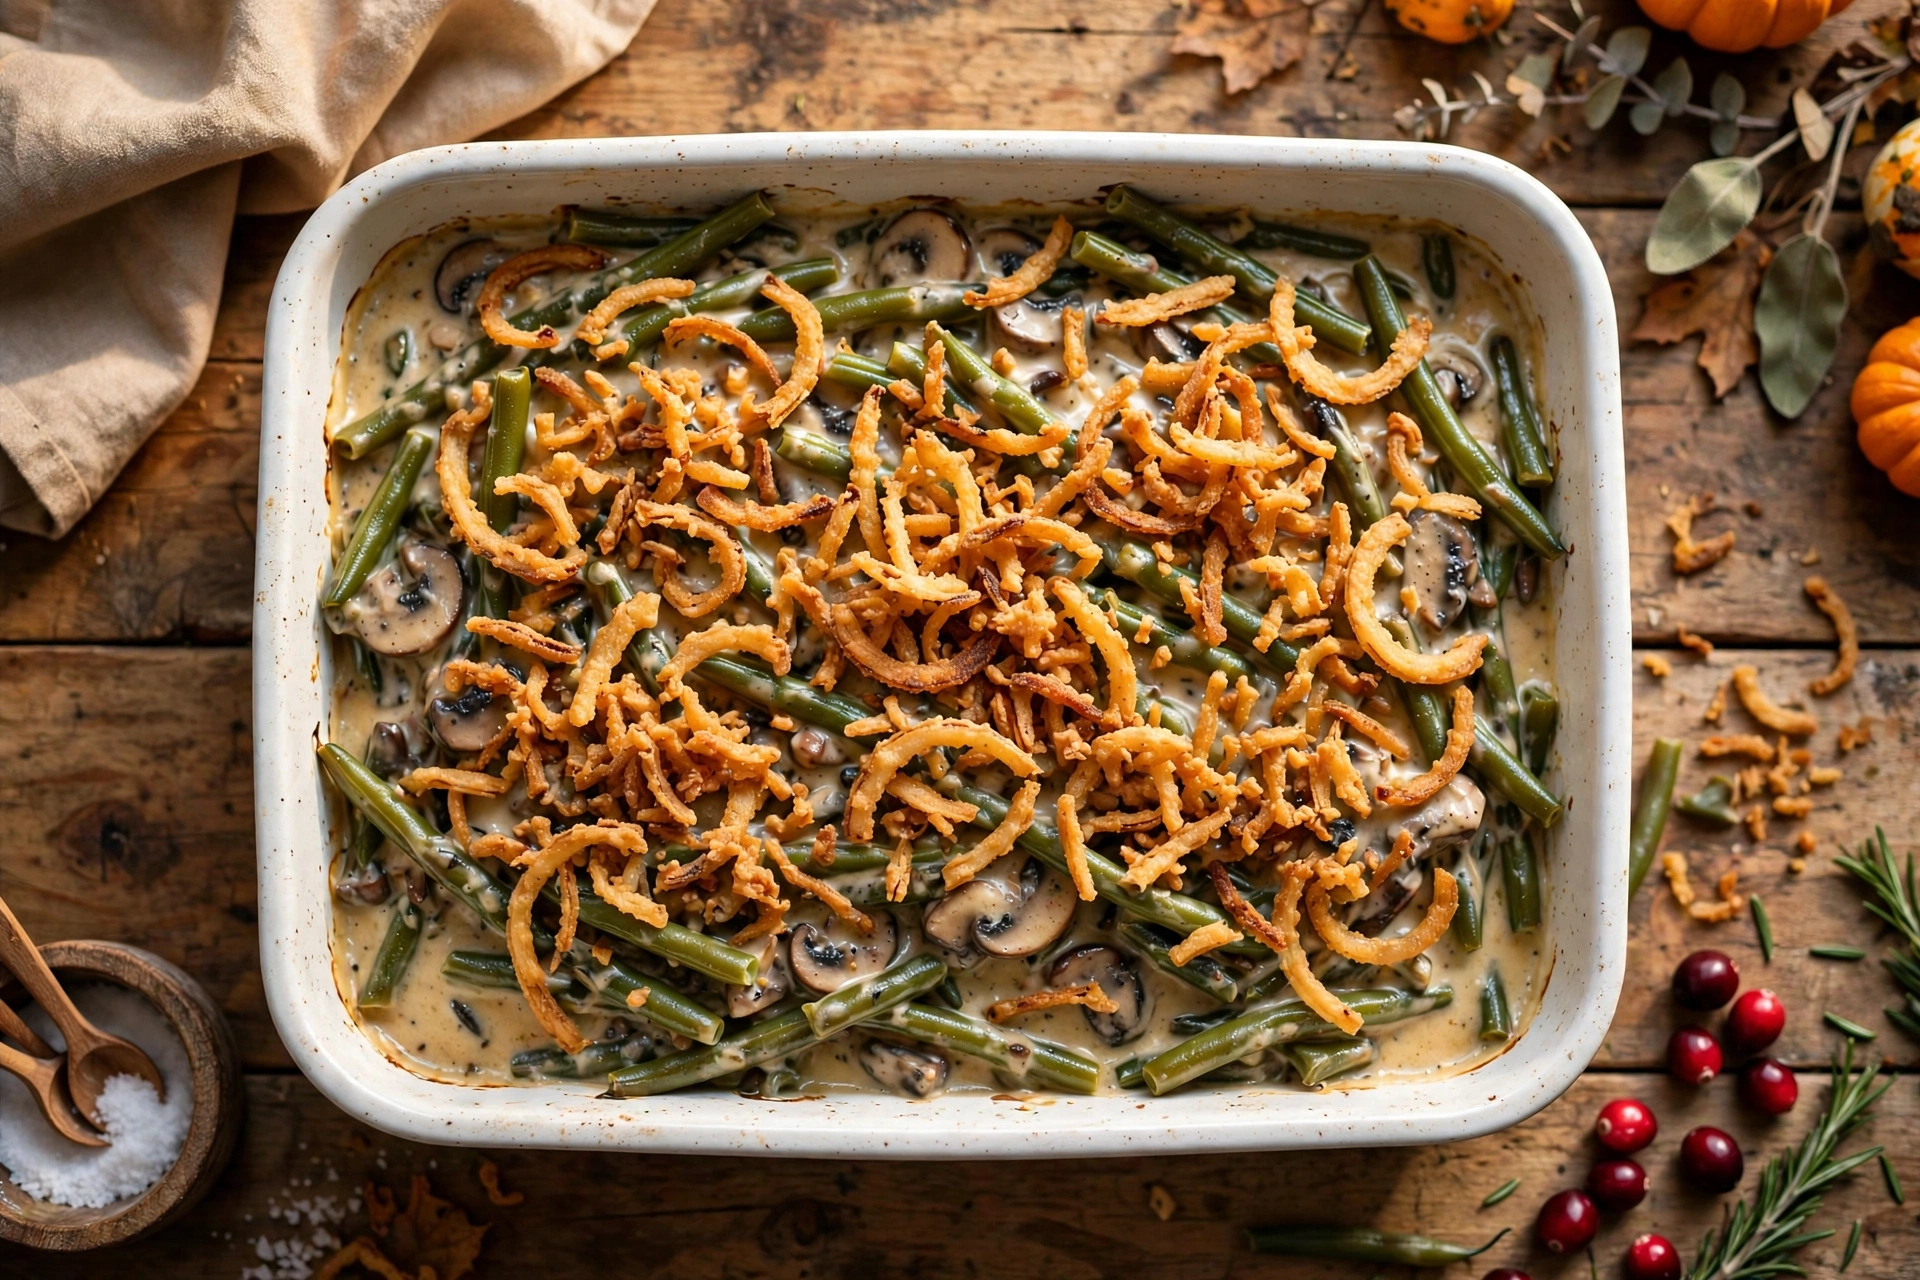
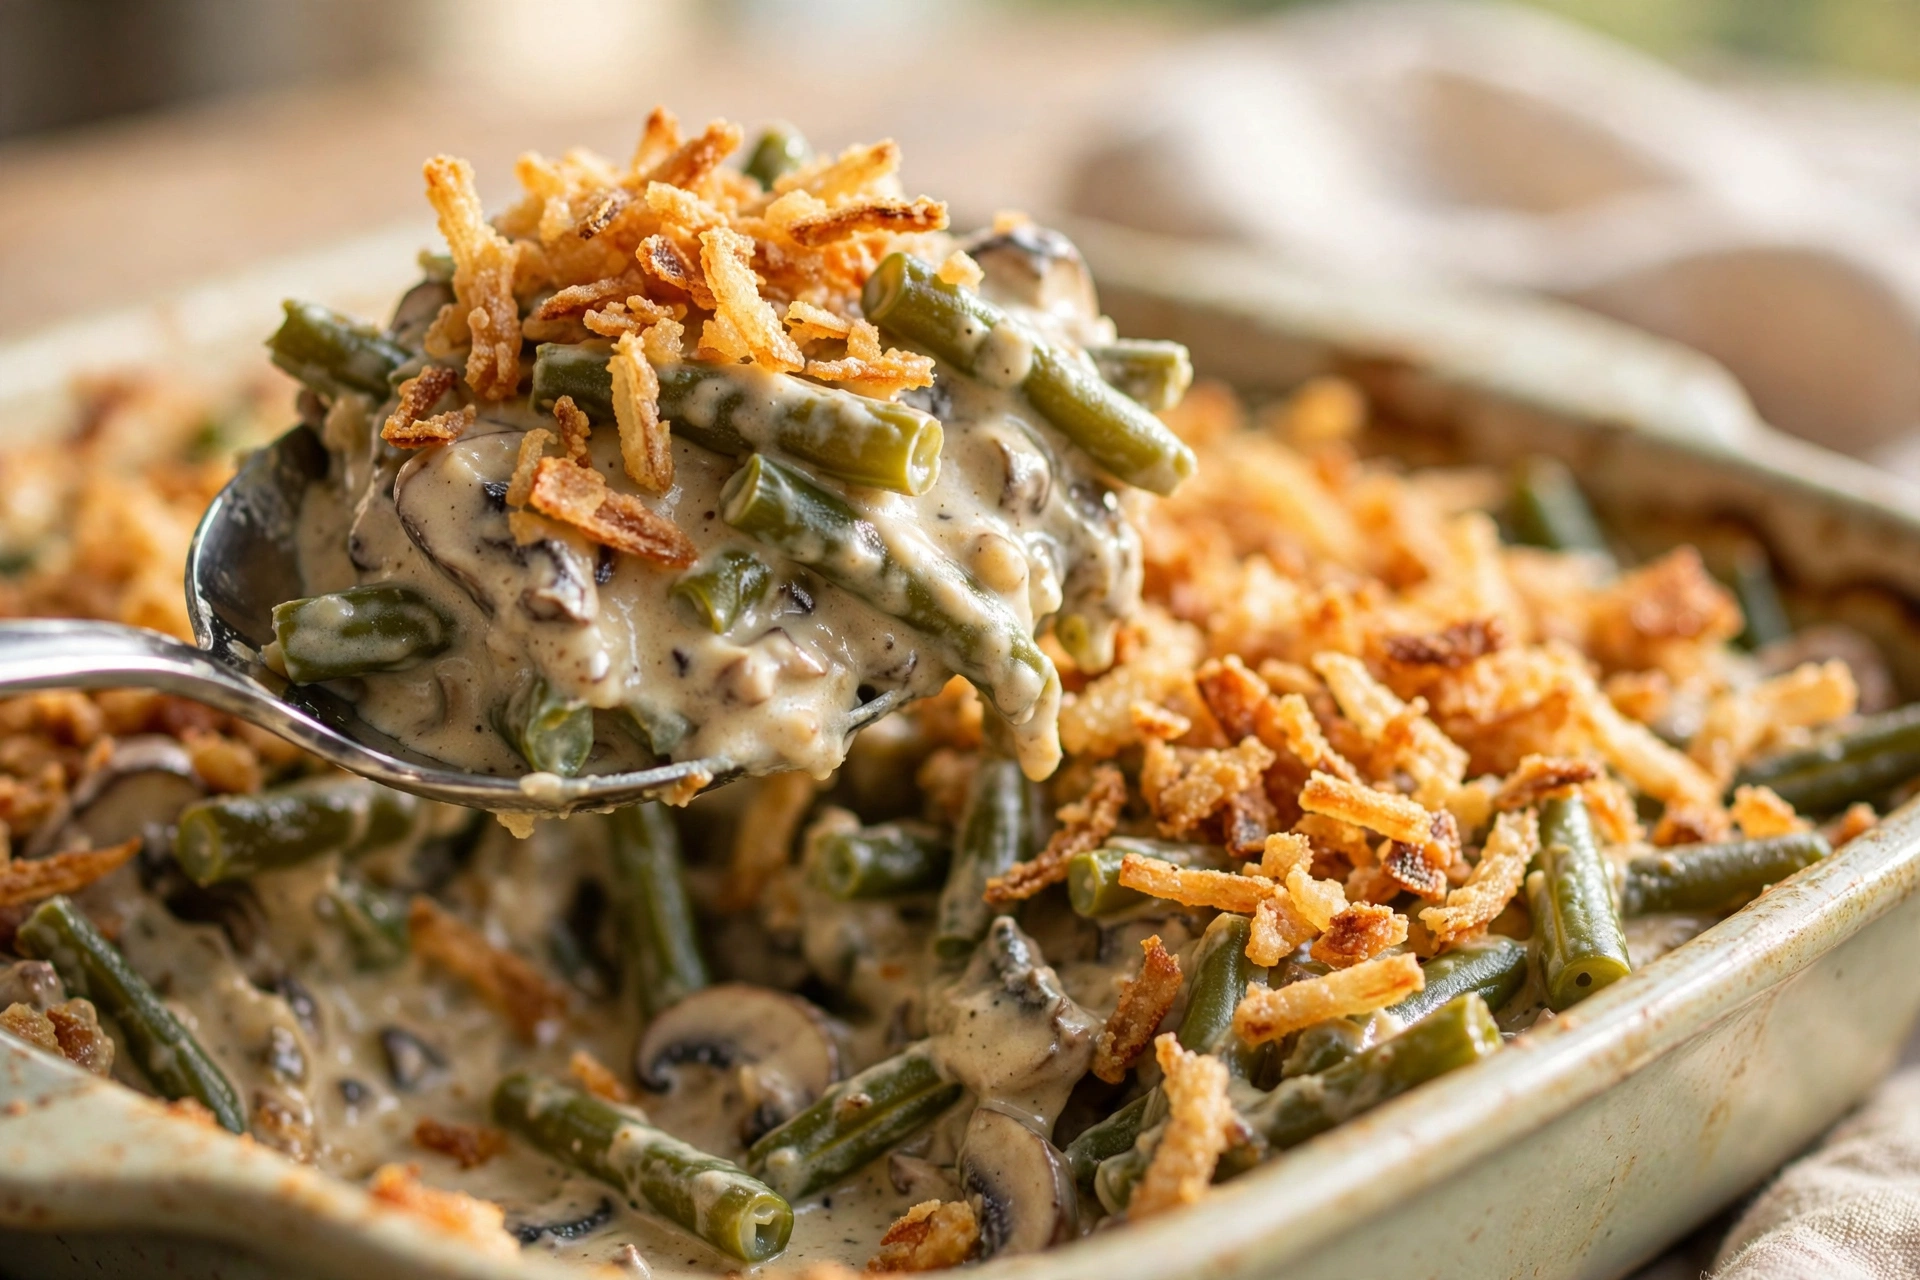
The first thing you notice is contrast, because the topping shatters into salty shards while the inside stays luxuriously creamy. The fried onions bring deep toasted flavor with a faint sweetness, like the best part of an onion ring. Underneath, the sauce coats every bean in a velvety layer of browned butter, earthy mushrooms, and gentle garlic.
A spoonful of soy sauce adds quiet umami that makes the dish taste more savory overall. Nutmeg stays in the background, but it rounds out the cream the way it does in a good bechamel. The beans are the real surprise, because they keep a fresh snap and bright green color.
Each bite moves from crisp to creamy to tender, which keeps every spoonful interesting. Salt is balanced so the dish tastes rich but never heavy. It loves sharing a plate with buttery rosemary garlic mashed potatoes. The sauce thickens as it cools, so servings hold their shape.
Reheated leftovers taste almost as good, because the flavors meld overnight in the fridge. Kids love it for the crunchy top, while adults notice it tastes genuinely homemade.
It is comfort food in the truest sense, familiar enough for tradition and good enough to start a new one. Served hot from the oven, it fills the kitchen with the buttery smell of toasted onions.
Serve it piping hot for the full contrast, because the topping loses its shatter as it cools. A spoonful of bright cranberry sauce on the side cuts the richness beautifully. The creamy sauce also makes excellent leftovers, folded into an omelet or spooned over toast the next morning.
Quick and Easy Preparation
From filling the pot to pulling the bubbling dish from the oven, the whole process takes about 45 minutes. Roughly half of that is hands off, while the beans blanch and the casserole bakes. You need one large pot, one skillet, and a 9 by 13 inch baking dish, so cleanup stays reasonable.
Blanch the beans while the oven preheats, since that step takes only three to four minutes. While they drain, build the sauce by browning mushrooms, softening onion, and whisking in broth and cream. There is no finicky technique here, just steady stirring and a watchful eye as the sauce thickens.
Fold the beans into the sauce, spread everything into the baking dish, and let the oven finish the work. The fried onions go on during the last five to eight minutes, so they turn golden instead of burnt.
If you can stir, boil water, and set a timer, you already own every skill this recipe demands. Active work stays under 25 minutes, so you can focus on the turkey and the guests.
On Thanksgiving morning, blanch the beans and build the sauce before the turkey goes into the oven, then assemble and refrigerate. When the bird comes out to rest, slide the dish into the hot oven. This rhythm keeps you out of the kitchen during the final hectic hour, and puts a hot side on the table exactly on time.
Lighter and Diet Adaptations
Even a lighter version of green bean casserole can taste indulgent when the sauce is built with care. Swap the half and half for evaporated milk to trim richness while keeping the sauce silky. Use a light hand with the butter and let the mushrooms brown deeply, since caramelization adds flavor that fat usually provides.
For a gluten free table, replace the flour with an equal amount of rice flour. A dairy free version works too, with olive oil instead of butter and unsweetened oat milk for the cream. Check the fried onion label for vegan or gluten free needs, since brands vary, or use a simple panko topping.
Cut the soy sauce in half and choose low sodium broth if you watch salt, then season to taste at the end. None of these swaps change the method, so you can adapt the dish without learning anything new.
Each serving lands around 220 calories with real ingredients you can pronounce, which feels reasonable for a holiday table. The fiber from fresh beans and the protein from the cream sauce keep portions satisfying. You get all the comfort of the classic without the processed aftertaste of condensed soup.
Ingredients
- 2 pounds fresh green beans, trimmed and cut into 2 inch pieces
- 8 ounces cremini mushrooms, thinly sliced
- 1 medium yellow onion, finely diced
- 3 garlic cloves, minced
- 4 tablespoons unsalted butter, divided
- 1/4 cup all purpose flour
- 2 cups low sodium chicken or vegetable broth
- 1 cup half and half
- 1 tablespoon soy sauce
- 1 teaspoon kosher salt, plus more to taste
- 1/2 teaspoon freshly ground black pepper
- 1/4 teaspoon freshly grated nutmeg
- 1 1/2 cups crispy fried onions, divided
Step by Step Instructions
- Position a rack in the center of the oven and heat it to 375 degrees Fahrenheit. Lightly grease a 9 by 13 inch baking dish and set it aside.
- Bring a large pot of generously salted water to a rolling boil. Add the green beans and blanch for 3 to 4 minutes, until bright green and crisp tender. Transfer immediately to ice water, then drain very well in a colander.
- Melt 3 tablespoons of butter in a large skillet over medium high heat. Add the mushrooms in a single layer and cook undisturbed for 2 to 3 minutes. Stir and cook 4 to 5 minutes more, until deeply golden and their liquid has evaporated.
- Add the diced onion and cook 4 to 5 minutes, stirring often, until soft and translucent. Stir in the garlic and cook 30 seconds more, just until fragrant.
- Sprinkle the flour evenly over the vegetables and stir constantly for 1 to 2 minutes. The mixture will look pasty and cling to the mushrooms, which is exactly right for a roux.
- Pour in the broth a little at a time, whisking constantly to keep the sauce smooth. Whisk in the half and half once all the broth is added. Bring to a gentle simmer and cook 3 to 4 minutes, stirring often, until it thickly coats a spoon.
- Stir in the soy sauce, salt, pepper, and nutmeg, then taste the sauce. It should taste well seasoned and savory, so add another pinch of salt if it seems flat. Remember the fried onions will add more salt at the end.
- Add the drained beans to the skillet and fold gently until every bean is coated. Transfer the mixture to the prepared baking dish and spread it into an even layer.
- Bake for 20 to 25 minutes, until the sauce bubbles around the edges. The top will look creamy and pale, which is normal before the golden topping goes on.
- Remove the dish and give the beans a gentle stir so the heat distributes evenly. Sprinkle the remaining fried onions over the top in an even layer. Return to the oven for 5 to 8 minutes, until deep golden and crisp.
- Let the casserole rest 5 to 10 minutes before serving so the sauce settles. It will slice and scoop much more neatly after this short wait.
Pro Tips for Perfect Results
Dry the blanched beans thoroughly, because any clinging water will thin the sauce in the oven. Give the mushrooms real time to brown, since golden mushrooms taste meaty and rich while pale ones taste flat. Add the fried onions only in the final minutes, and tent loosely with foil if they brown too fast.
The sauce should look thick in the skillet, because beans release moisture as they bake. Salt the blanching water generously, since it is your only chance to season the beans themselves. A 9 by 13 inch dish gives the right depth for even heating. Stir the casserole before adding the topping so every portion heats evenly.
Rest the finished dish at least five minutes, because the sauce firms up and serves more neatly. Taste the sauce before the beans go in, since adjusting seasoning after baking is nearly impossible. If your oven runs hot, start checking the onions at five minutes, because they burn quickly.
For deeper mushroom flavor, mix cremini with a handful of shiitake or oyster mushrooms. If you fry your own onions, do it just before serving for maximum crunch. A light grating of parmesan over the topping during the last two minutes adds a savory crust. Always taste the sauce with a bean, not a spoon, to judge the real seasoning.
Easy Swaps and Tasty Variations
In a hurry, swap the homemade sauce for one 10.5 ounce can of condensed mushroom soup thinned with half a cup of milk. The flavor will be saltier and less fresh, but the method stays exactly the same. For a cheesy twist, fold one cup of shredded sharp cheddar or Gruyere into the hot sauce.
Replace the fried onions with buttery panko breadcrumbs tossed with parmesan for a topping that stays crunchy even longer. A pinch of smoked paprika or cayenne adds gentle warmth that wakes up the whole dish. Thinly sliced shallots, sauteed with the mushrooms, bring a sweeter and more delicate onion flavor.
To free up oven space, cook the assembled casserole in a slow cooker on low for 2 to 3 hours. Add the fried onions during the last 20 minutes so they stay crisp instead of steaming soft.
Fold diced leftover turkey into extra sauce and bake it as our creamy turkey casserole for a second feast. Frozen beans also work here, but thaw and drain them completely to avoid a watery result.
For a deluxe holiday version, stir a handful of fresh thyme leaves into the sauce and finish with a drizzle of truffle oil. A Mediterranean twist swaps the fried onions for toasted pine nuts and lemon zest. Both keep the same method and timing, so the dish stays foolproof while tasting completely new.
How to Store and Make Ahead
A baked green bean casserole keeps for 3 to 4 days in the refrigerator in an airtight container. You can also assemble the whole dish up to two days ahead and refrigerate it without the onion topping. On the day, let the cold dish stand 30 minutes at room temperature, then bake and add the onions at the end.
This trick shines on Thanksgiving, when the casserole slides into the oven as the turkey comes out to rest. Reheat leftovers at 350 degrees for about 20 minutes covered with foil, then uncover for 5 minutes to re-crisp. A fresh sprinkle of fried onions before serving brings back the crunch that softens overnight.
Never leave the dish at room temperature for more than two hours, since dairy based dishes need prompt refrigeration. Pile cold leftovers onto rolls with cranberry sauce to echo our thanksgiving leftover turkey cranberry sliders.
You can freeze the assembled dish without the topping for up to two months in a freezer safe container. Thaw it overnight in the refrigerator, then bake as directed and add fresh fried onions at the end. The texture stays remarkably close to fresh, which makes this a smart move for a stress free holiday.
Conclusion
Green bean casserole has held its place on the Thanksgiving table for seventy years, and this version shows why. Fresh beans, a real mushroom cream sauce, and a shattering onion crust turn a humble side into the dish people remember. Make it ahead, bake it while the turkey rests, and watch it disappear within minutes.
If you try it, leave a comment and tell us whether your family fought over the crispy corners. Save room for dessert too, because no holiday table feels complete without something sweet to finish.
Seventy years of Thanksgiving tables cannot be wrong, and this from scratch upgrade earns its place among them. Gather your people, pass the crispy corners first, and enjoy the quiet moment when the whole table goes silent for the first bite.
FAQ
Can I use fresh, frozen, or canned green beans?
Fresh beans give the best texture, with a bright snap that holds up beautifully under the creamy sauce. Frozen beans are a solid backup, but thaw them fully and squeeze out every drop of water first, since extra moisture is the top cause of a soupy casserole. Canned beans work in a pinch, though they turn softer and saltier, so drain them well and cut back on the added salt.
Can I make the crispy fried onions from scratch?
Yes, and they are worth the extra twenty minutes if you want the crispiest possible topping. Toss very thinly sliced onions in seasoned flour, then shallow fry them in hot oil until deep golden and drain them on a wire rack. Homemade onions taste fresher and stay crisp longer than the store bought kind.
Why did my sauce turn out watery or split?
A watery sauce almost always comes from beans that were not drained well or mushrooms that were crowded and steamed instead of browned. A split sauce usually means the cream boiled too hard, so keep the simmer gentle and steady. Next time, make sure the sauce looks thick in the skillet before the dish goes into the oven.
Can I use frozen green beans instead of fresh ones in green bean casserole?
Yes, frozen beans are the best substitute in this green bean casserole when fresh ones are out of season or short on time. Thaw them completely, then pat them very dry with a clean kitchen towel so their extra moisture does not thin the sauce. Blanching is optional for frozen beans, since they are already partially cooked before freezing.
How do I reheat it without the topping going soft?
The oven is the only method that truly works, because the microwave steams the topping and turns it soggy. Reheat the casserole at 350 degrees for about 20 minutes, then uncover it for the last 5 minutes so the onions crisp again. For the crunchiest result, add a small handful of fresh fried onions right before serving.
Green Bean Casserole
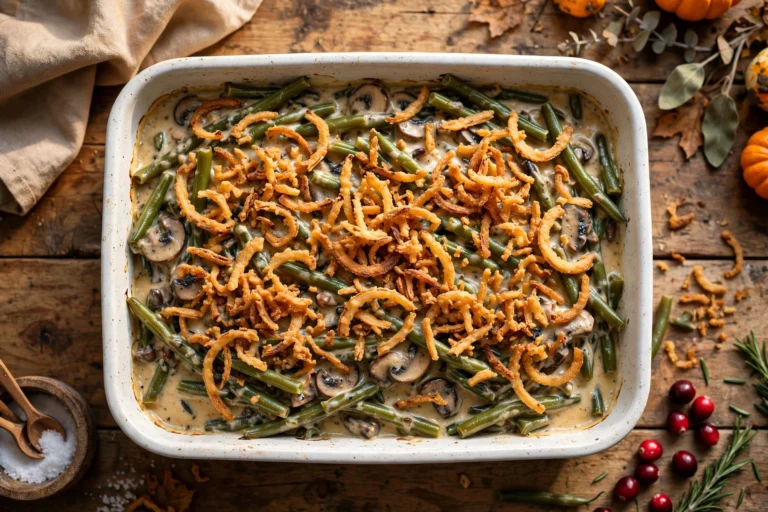
Classic green bean casserole with fresh beans, homemade mushroom cream sauce, and crispy fried onions.
- Total Time: 55 minutes
- Yield: 8 servings 1x
Ingredients
- 2 pounds fresh green beans, trimmed and cut into 2 inch pieces
- 8 ounces cremini mushrooms, thinly sliced
- 1 medium yellow onion, finely diced
- 3 garlic cloves, minced
- 4 tablespoons unsalted butter, divided
- 1/4 cup all purpose flour
- 2 cups low sodium chicken or vegetable broth
- 1 cup half and half
- 1 tablespoon soy sauce
- 1 teaspoon kosher salt, plus more to taste
- 1/2 teaspoon freshly ground black pepper
- 1/4 teaspoon freshly grated nutmeg
- 1 1/2 cups crispy fried onions, divided
Instructions
- Position a rack in the center of the oven and heat it to 375 degrees Fahrenheit. Lightly grease a 9 by 13 inch baking dish and set it aside.
- Bring a large pot of generously salted water to a rolling boil. Add the green beans and blanch for 3 to 4 minutes, until bright green and crisp tender. Transfer immediately to ice water, then drain very well in a colander.
- Melt 3 tablespoons of butter in a large skillet over medium high heat. Add the mushrooms in a single layer and cook undisturbed for 2 to 3 minutes. Stir and cook 4 to 5 minutes more, until deeply golden and their liquid has evaporated.
- Add the diced onion and cook 4 to 5 minutes, stirring often, until soft and translucent. Stir in the garlic and cook 30 seconds more, just until fragrant.
- Sprinkle the flour evenly over the vegetables and stir constantly for 1 to 2 minutes. The mixture will look pasty and cling to the mushrooms, which is exactly right for a roux.
- Pour in the broth a little at a time, whisking constantly to keep the sauce smooth. Whisk in the half and half once all the broth is added. Bring to a gentle simmer and cook 3 to 4 minutes, stirring often, until it thickly coats a spoon.
- Stir in the soy sauce, salt, pepper, and nutmeg, then taste the sauce. It should taste well seasoned and savory, so add another pinch of salt if it seems flat. Remember the fried onions will add more salt at the end.
- Add the drained beans to the skillet and fold gently until every bean is coated. Transfer the mixture to the prepared baking dish and spread it into an even layer.
- Bake for 20 to 25 minutes, until the sauce bubbles around the edges. The top will look creamy and pale, which is normal before the golden topping goes on.
- Remove the dish and give the beans a gentle stir so the heat distributes evenly. Sprinkle the remaining fried onions over the top in an even layer. Return to the oven for 5 to 8 minutes, until deep golden and crisp.
- Let the casserole rest 5 to 10 minutes before serving so the sauce settles. It will slice and scoop much more neatly after this short wait.
- Prep Time: 20 minutes
- Cook Time: 35 minutes