

Raspberry Thumbprint Cookies, Buttery and Built to Hold Their Jam
In this article:
- Why These Raspberry Thumbprint Cookies Keep Their Shape
- A Melt-Away Crumb With a Glossy Red Center
- Built for the Christmas Cookie Box, Not Just the Plate
- Ingredients for Raspberry Thumbprint Cookies
- How to Make Thumbprint Cookies With Wells That Stay Deep
- Cracks, Spreading and Lost Wells, Fixed One by One
- Fillings and Finishes Beyond Raspberry
- Storing, Freezing and Shipping the Filled Cookies
- The Red Dot Every Cookie Tin Is Waiting For
- FAQ
Why These Raspberry Thumbprint Cookies Keep Their Shape
A thumbprint cookie fails in two predictable ways: it spreads into a flat puddle, or the well in the middle puffs up and pushes the jam out. These raspberry thumbprint cookies are built against both failures. The dough carries a little cornstarch, which softens the crumb and slows spreading, and the shaped balls chill for a full thirty minutes before the jam goes in, so the butter enters the oven cold and the cookies hold their round shape.
The order of the steps matters more than any single ingredient. You roll the balls, roll them in sugar, press the wells, and only then chill. Cold dough pressed after chilling cracks badly, as every December baker learns the hard way. Pressed warm and chilled after, the wells set in place, and the edges stay smooth through the bake.
The last insurance policy comes out of the oven. If a well has puffed up during baking, you press it back down gently with the back of a round teaspoon while the cookie is still hot and soft. Ten seconds of attention per tray, and every cookie ends up with the same deep, jam holding center. It is the step nobody writes down, and it is the whole difference.
The jam choice is part of the structure too. Seedless raspberry jam, stirred smooth and warmed just until it loosens, fills the well in one clean spoonful and sets glossy as it cools. Chunky preserves slump, weep and overflow. Jam behaves. The full method, with the freeze ahead plan for December baking days, is below.
A Melt-Away Crumb With a Glossy Red Center
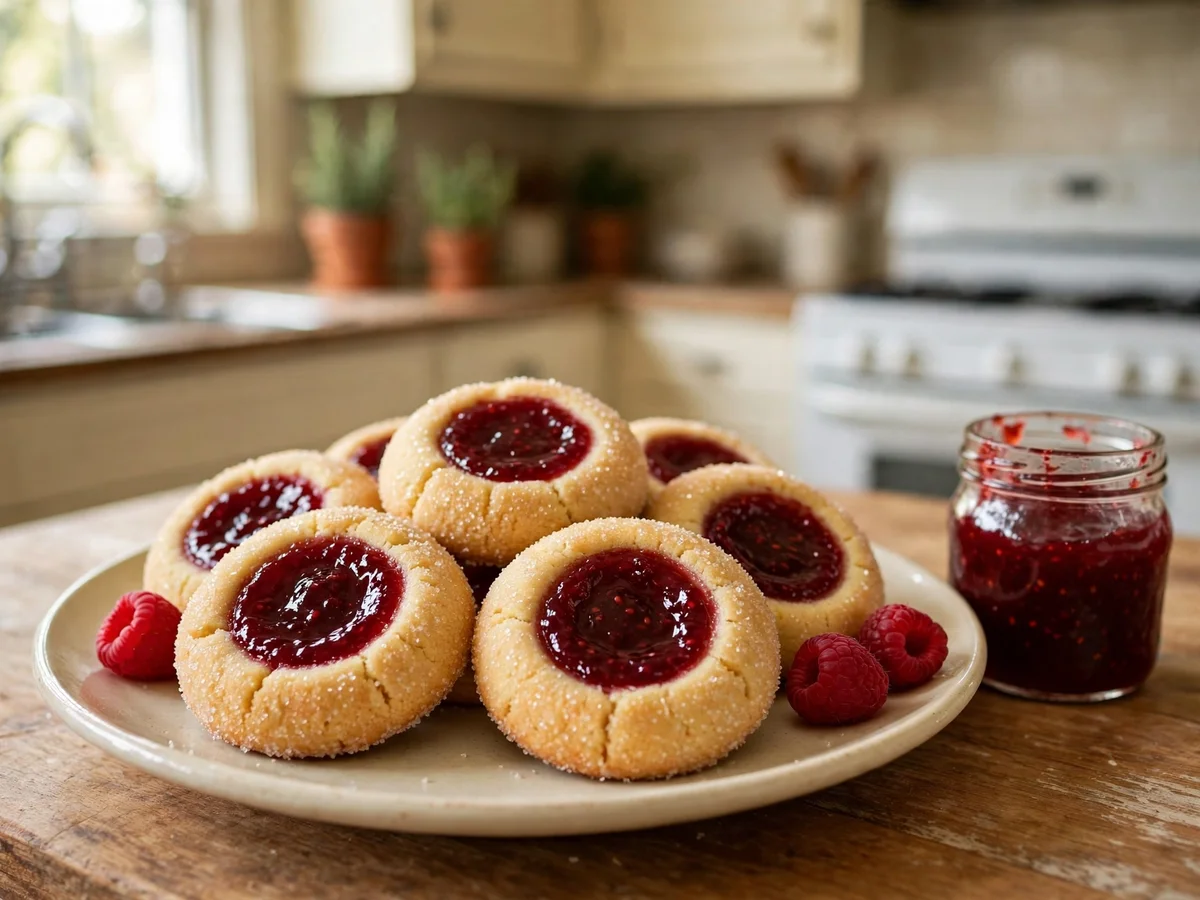
The crumb is the point of this cookie. Cornstarch in the flour keeps it short and tender, the way a good shortbread breaks, clean at first and then melting. One egg yolk, no white, adds richness without toughness, and the sugar coating on the outside gives the first bite a faint sparkle before the butter takes over.
Against that pale, buttery round, the raspberry center tastes bright and a little tart, which is exactly what a Christmas cookie plate needs. Most holiday cookies lean sweet on sweet. This one has a red, fruity middle that cuts through, and it is usually the first cookie to disappear from the tin. If your jam leans very sweet, a few drops of lemon juice stirred in will sharpen it back up.
Size plays a quiet role in the texture too. A one tablespoon ball bakes into a cookie that is crisp at the very edge, tender through the middle and thick enough to hold a real spoonful of jam. Go bigger and the centers stay doughy while the edges overcook. Go smaller and the well becomes a puddle with no crumb around it. The tablespoon scoop is the sweet spot, and it also makes every cookie in the batch bake at the same speed, tray after tray.
Built for the Christmas Cookie Box, Not Just the Plate
December baking runs on a schedule, so here is the one that works. Make the dough and shape the balls up to two months ahead, press the wells, and freeze the shaped balls solid on a tray. Bag them with the date. On baking day, the balls go straight from the freezer to the oven, still unfilled, for a two minute head start, then out for the jam, then back in to finish.
For the gift box itself, these cookies travel best in a single layer or stacked in twos with parchment between, jam side up, never sandwiched jam to jam. They keep their looks for five days in a tin at room temperature, which makes them one of the rare filled cookies you can mail early in the month. Pack the tin snug with crumpled parchment so nothing rattles.
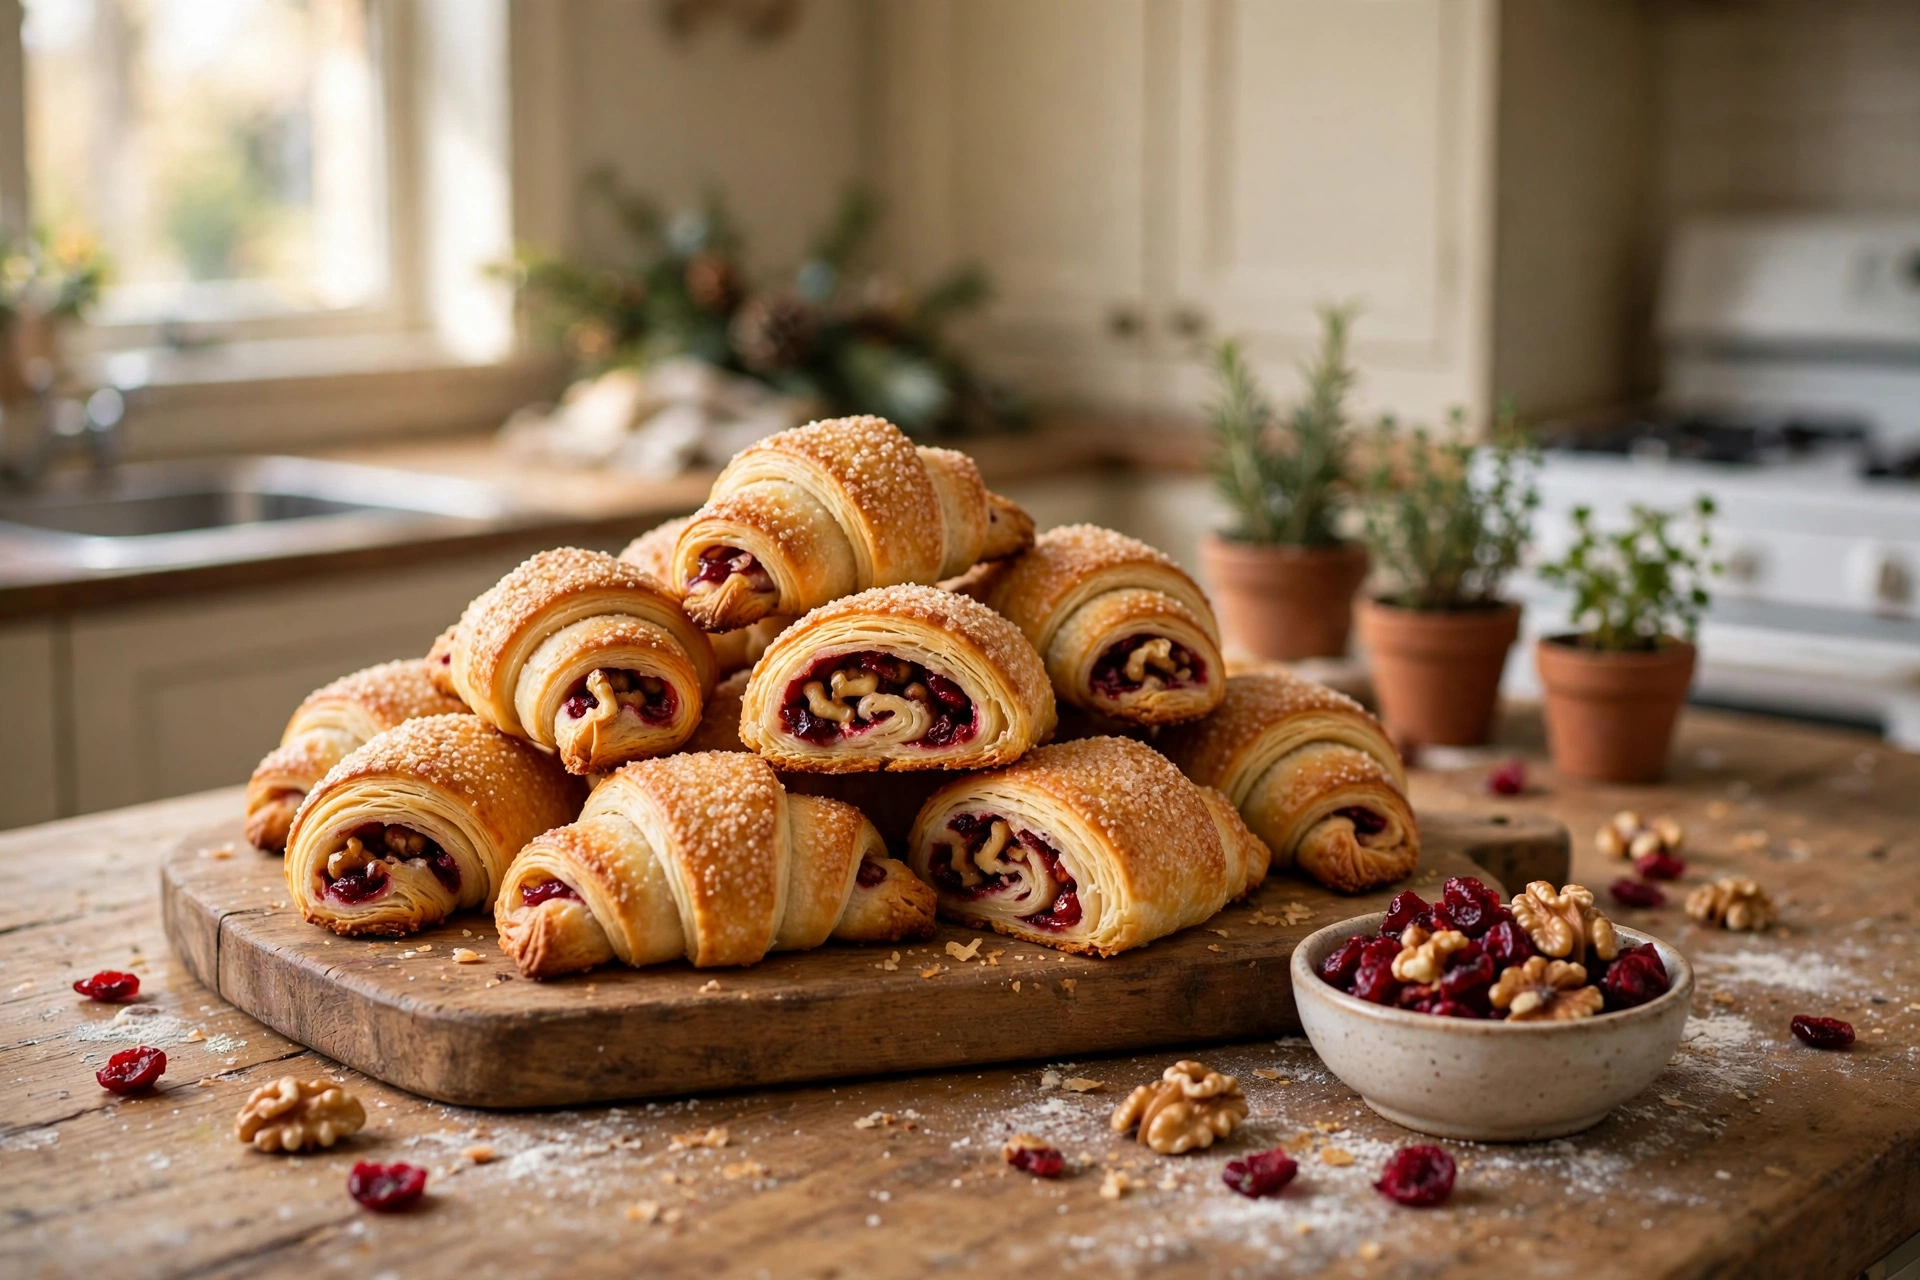
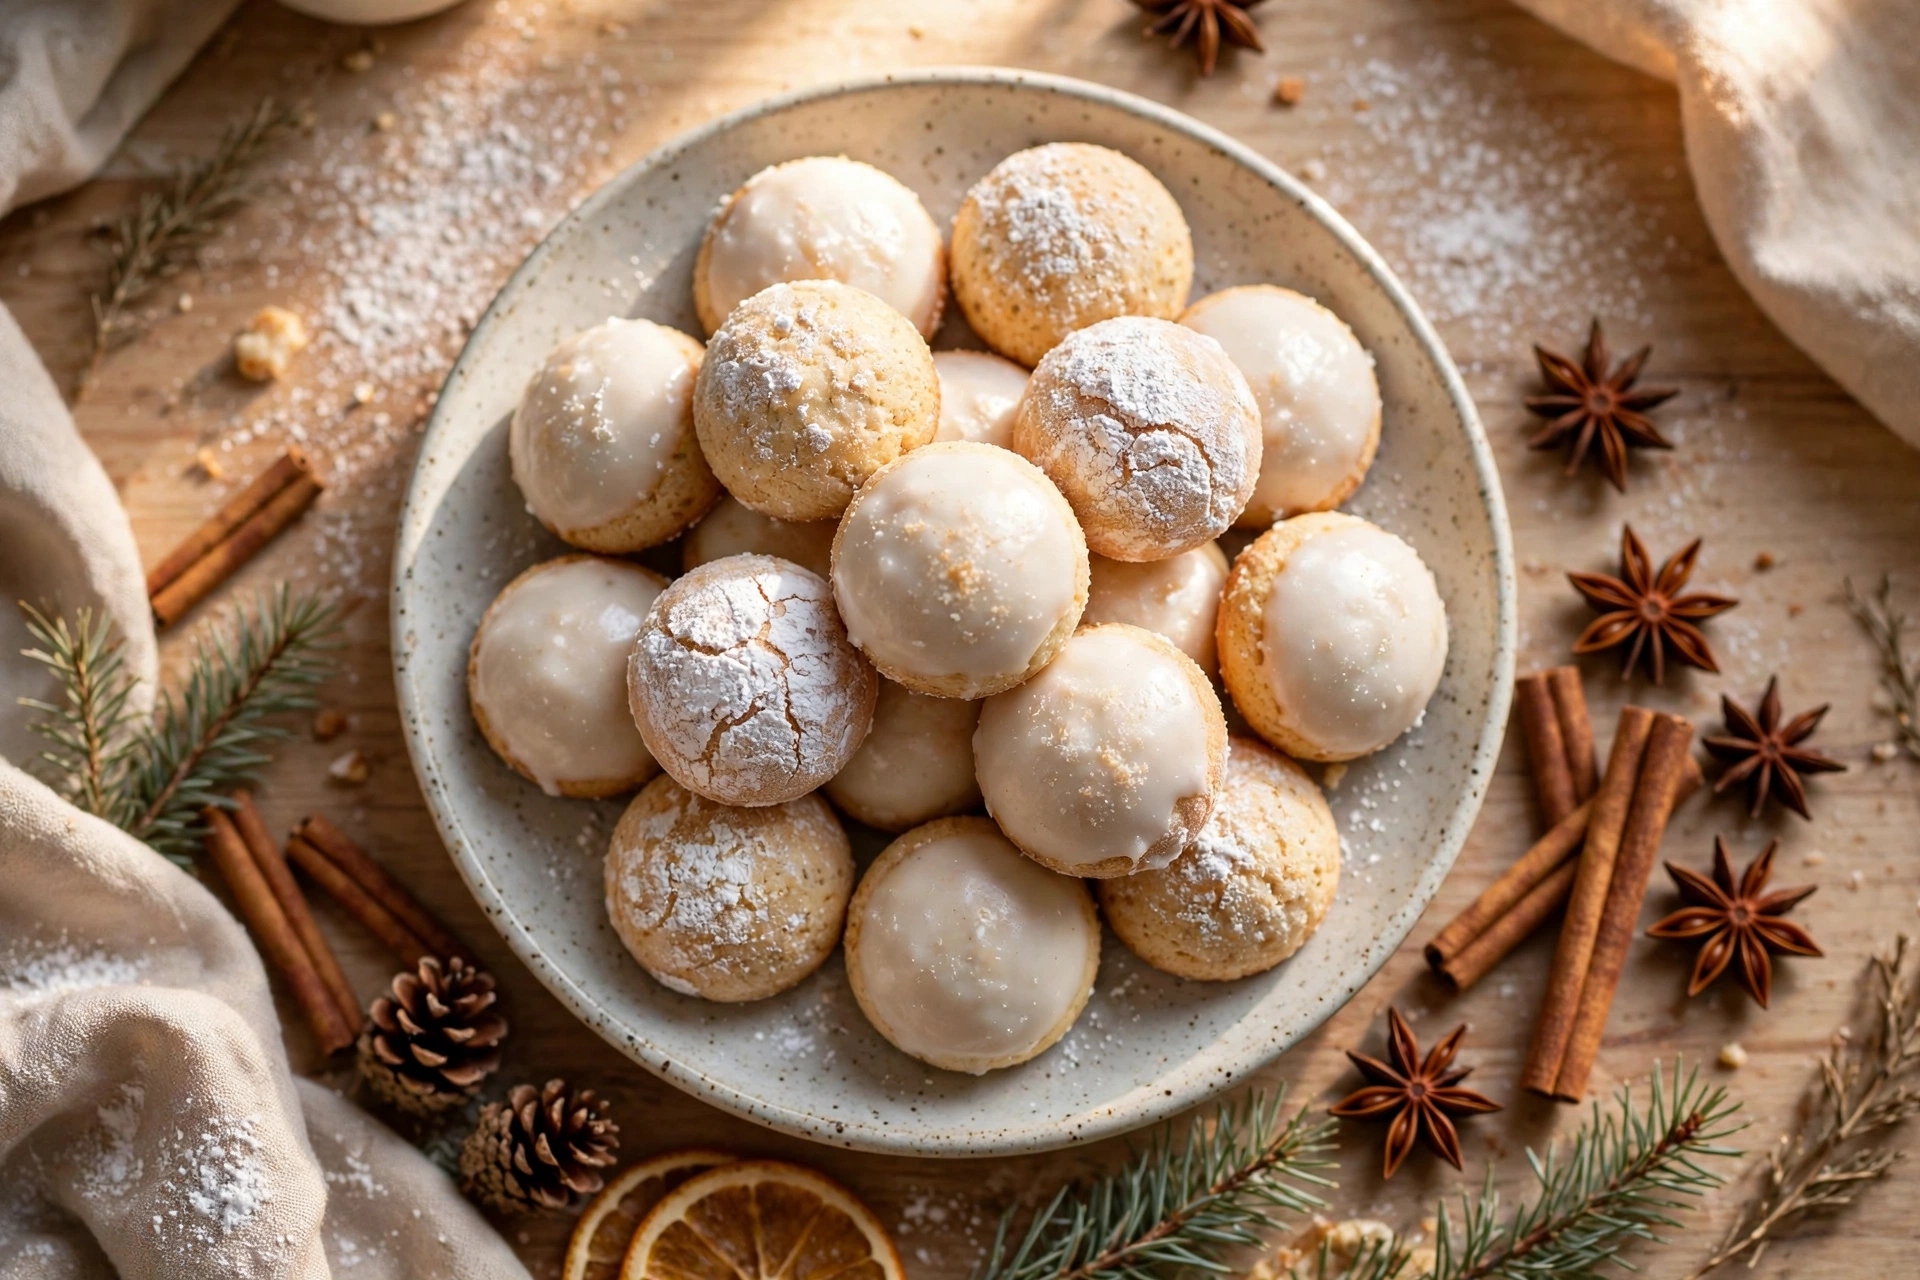
On a mixed plate, they pair beautifully with our cranberry walnut rugelach from earlier this week and the powdered snowball cookies everyone expects. Red centers, white snowballs, spiral rugelach: the box photographs itself. Add a batch of gingerbread crinkle cookies and the four shapes cover every texture a cookie swap asks for.
Ingredients for Raspberry Thumbprint Cookies
Everything here is a pantry staple, which is part of the cookie’s charm. The one thing to shop for deliberately is the jam: seedless raspberry, the smooth kind sold for toast, fills the wells cleanly and sets with a shine. If your store only carries seeded jam, push it through a small sieve once and it will behave the same way.
- 1 cup (227 g) unsalted butter, softened
- 2/3 cup granulated sugar, plus 1/4 cup for rolling
- 1 large egg yolk, at room temperature
- 1 1/2 teaspoons vanilla extract
- 2 cups (250 g) all-purpose flour, spooned and leveled
- 2 tablespoons cornstarch
- 1/2 teaspoon fine sea salt
- 1/2 cup seedless raspberry jam
Raspberries bring more than color to the cookie. They are one of the highest fiber fruits and carry a solid dose of vitamin C, and the USDA FoodData Central database has the full breakdown for fresh raspberries if you want to compare jam options by sugar content.
How to Make Thumbprint Cookies With Wells That Stay Deep
- Beat the butter and 2/3 cup sugar in a large bowl until pale and fluffy, about 2 minutes. Beat in the egg yolk and vanilla until smooth and glossy.
- Whisk the flour, cornstarch and salt together. Add to the butter mixture and mix on low just until a soft dough forms and no dry flour remains. Do not overmix.
- Scoop the dough into 1 tablespoon balls, about 18 g each, and roll them smooth between your palms. Roll each ball in the extra 1/4 cup sugar and place 2 inches apart on parchment lined baking sheets.
- Press a deep well into the center of each ball with your thumb or the round end of a wooden spoon handle, going about two thirds of the way down. If an edge cracks, pinch it back together with your fingers.
- Chill the shaped trays for 30 minutes. This is the step that keeps the cookies round and the wells open, so do not skip it on a warm day.
- Heat the oven to 350°F. Stir the jam until smooth, warming it for 10 seconds in the microwave if it is stiff. Fill each well with about 1/2 teaspoon of jam, level with the top of the well.
- Bake 13 to 15 minutes, until the edges are set and the bottoms are pale gold. The tops should stay pale; these cookies do not brown much, and that is correct.
- If any well puffed up, press it gently with the back of a round teaspoon while the cookies are hot, and top up with a small dot of jam. Cool on the pan for 10 minutes, then move to a rack to finish cooling.
Cracks, Spreading and Lost Wells, Fixed One by One
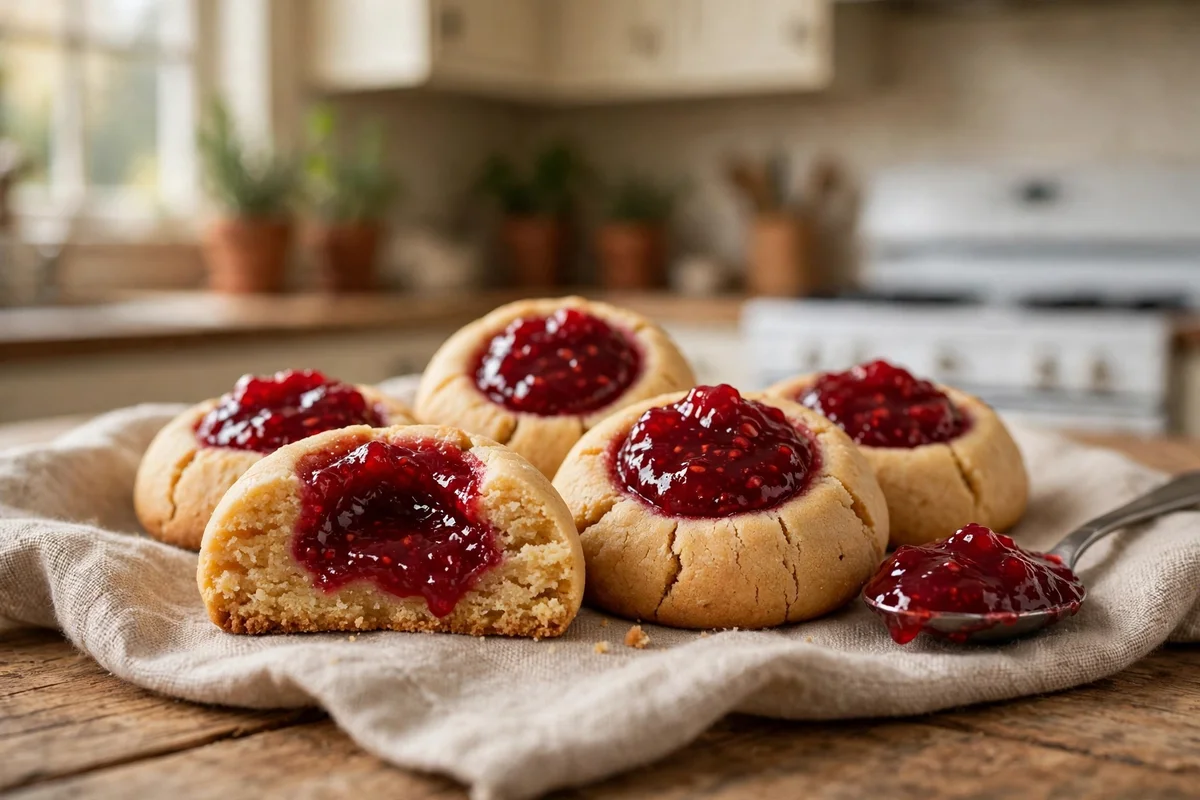
Cracks around the well mean the dough was too cold or too dry when you pressed it. Press the wells while the dough is freshly rolled and soft, and chill after pressing, never before. If your flour was scooped from the bag instead of spooned, the dough may carry an extra spoonful or two; a teaspoon of milk worked in will bring it back together.
Spreading means warm butter or a warm pan. The thirty minute chill fixes most cases. Never put shaped balls on a hot baking sheet from the batch before; run the sheet under cold water and dry it, or rotate two sheets. Cookies that still spread usually trace back to butter that melted instead of softened during mixing.
Lost wells, the ones that puff flat, come from air in the dough and jam filled too early on warm trays. The hot re-press in the last step saves every one of them, so do not judge the tray until you have done it. And if jam overflows, the well was overfilled or the jam was runny preserves instead of true jam; fill level, not heaped, and let the re-press make room before you add the dot on top.
One more symptom worth naming: cookies that look perfect but taste floury were pulled too early or mixed from cold butter that never creamed properly. The bottoms should be pale gold, not white, and the dough should be beaten with the sugar until it visibly lightens before the yolk goes in. When in doubt, bake one test cookie first. Eight minutes of patience tells you more about your dough, your oven and your jam than any timer printed in a recipe, mine included.
Fillings and Finishes Beyond Raspberry
The dough is a blank frame for any smooth filling. Apricot jam gives a golden center and a gentler tartness. Seedless blackberry and strawberry jams both set well. Lemon curd is gorgeous but softer, so fill those after baking, once the cookies have cooled ten minutes, and serve the same day.
A quarter teaspoon of almond extract in the dough, alongside the vanilla, makes the cookies taste like a bakery case classic. A roll in finely chopped pistachios instead of sugar before pressing the well makes a green edged version for the plate. And for the chocolate lovers, a small spoonful of chocolate hazelnut spread in the cooled wells turns the same dough into a completely different cookie, closer to our chocolate peppermint cookies in spirit.
Storing, Freezing and Shipping the Filled Cookies
Filled cookies keep for five days in an airtight tin at room temperature, layered with parchment, jam side up. The fridge dries the crumb and clouds the jam, so the counter is the better home for them. For anything longer, freeze the baked, filled cookies in a single layer, then bag them; they thaw on the counter in about thirty minutes with the jam still glossy.
For storage and shipping questions in general, times, temperatures and what travels safely, I follow the federal guidance collected at FoodSafety.gov every December. Jam filled cookies are among the safest bakes to mail: no cream, no custard, nothing perishable in the well.
If you are building the freezer bank for the season, freeze the shaped, unfilled balls as described above and bake them fresh in small batches. Warm raspberry thumbprint cookies, ten minutes out of the oven with the jam still shining, are the best argument for doing the shaping work in November. The whole neighborhood will time their walks past your door.
The Red Dot Every Cookie Tin Is Waiting For
Some cookies earn their place by being loud, and some by being exactly right. Raspberry thumbprint cookies are the second kind: a tender butter round, a deep well of red jam, a sparkle of sugar at the edge. They look like jewelry on the plate and they taste like the bakery version of your grandmother’s recipe card, the one with the jam stain on the corner.
Bake a tray this week while raspberries are still on your mind, freeze a second tray of shaped balls for the busy days, and your December cookie box is already half solved. When the tin goes out the door with these on top, nobody will ask what else is inside. They will just reach for the red one first.
FAQ
Why do my thumbprint cookies crack when I press the well?
The dough is too cold or slightly too dry. Press the wells right after rolling, while the dough is soft, and chill the shaped cookies afterward. If cracks still appear, pinch them closed with your fingers, or work a teaspoon of milk into the dough to relax it.
Can I use preserves instead of jam in raspberry thumbprint cookies?
Seedless jam works best because it is smooth, fills the well in one spoonful and sets glossy. Preserves with fruit pieces can slump and overflow. If preserves are what you have, stir them well, warm them briefly and fill the wells level rather than heaped.
Why is there cornstarch in the dough?
Cornstarch softens the crumb, giving the cookies a tender, melt away texture closer to shortbread. It also slows spreading in the oven, which helps the cookies keep their round shape and their wells. You can replace it with the same amount of flour, but the crumb will be firmer.
Can I freeze thumbprint cookies before baking?
Yes, and it is the best way to bake ahead. Shape the balls, roll in sugar and press the wells, then freeze solid on a tray and bag for up to 2 months. Bake from frozen, adding about 2 minutes before filling with jam and finishing the bake.
How do I keep the wells from disappearing in the oven?
Chill the shaped cookies for 30 minutes before baking so the butter firms up. If a well still puffs during baking, press it back down gently with the back of a round teaspoon the moment the tray comes out, while the cookie is hot and soft, then top up the jam.
Raspberry Thumbprint Cookies
Tender butter cookies with a cornstarch softened crumb, wells pressed before chilling so they stay deep, filled with smooth seedless raspberry jam and finished with a sugar sparkle.
- Total Time: 1 hour 10 minutes
- Yield: 30 cookies 1x
Ingredients
- 1 cup (227 g) unsalted butter, softened
- 2/3 cup granulated sugar, plus 1/4 cup for rolling
- 1 large egg yolk, at room temperature
- 1 1/2 teaspoons vanilla extract
- 2 cups (250 g) all-purpose flour, spooned and leveled
- 2 tablespoons cornstarch
- 1/2 teaspoon fine sea salt
- 1/2 cup seedless raspberry jam
Instructions
- Beat the butter and 2/3 cup sugar in a large bowl until pale and fluffy, about 2 minutes. Beat in the egg yolk and vanilla until smooth and glossy.
- Whisk the flour, cornstarch and salt together. Add to the butter mixture and mix on low just until a soft dough forms and no dry flour remains.
- Scoop the dough into 1 tablespoon balls, about 18 g each, and roll them smooth between your palms. Roll each ball in the extra 1/4 cup sugar and place 2 inches apart on parchment lined baking sheets.
- Press a deep well into the center of each ball with your thumb or the round end of a wooden spoon handle, going about two thirds of the way down. Pinch any cracks back together.
- Chill the shaped trays for 30 minutes so the cookies hold their shape and the wells stay open.
- Heat the oven to 350°F. Stir the jam until smooth, warming it for 10 seconds in the microwave if it is stiff. Fill each well with about 1/2 teaspoon of jam, level with the top of the well.
- Bake 13 to 15 minutes, until the edges are set and the bottoms are pale gold. The tops should stay pale.
- If any well puffed up, press it gently with the back of a round teaspoon while the cookies are hot, and top up with a small dot of jam. Cool on the pan for 10 minutes, then move to a rack.
- Prep Time: 25 minutes
- Cook Time: 15 minutes
Nutrition
- Serving Size: 1
- Calories: 112
- Sugar: 8
- Sodium: 55
- Fat: 6
- Saturated Fat: 4
- Unsaturated Fat: 2
- Trans Fat: 0
- Carbohydrates: 15
- Fiber: 0
- Protein: 1
- Cholesterol: 20

1 thought on “Raspberry Thumbprint Cookies, Buttery and Built to Hold Their Jam”