In this article:
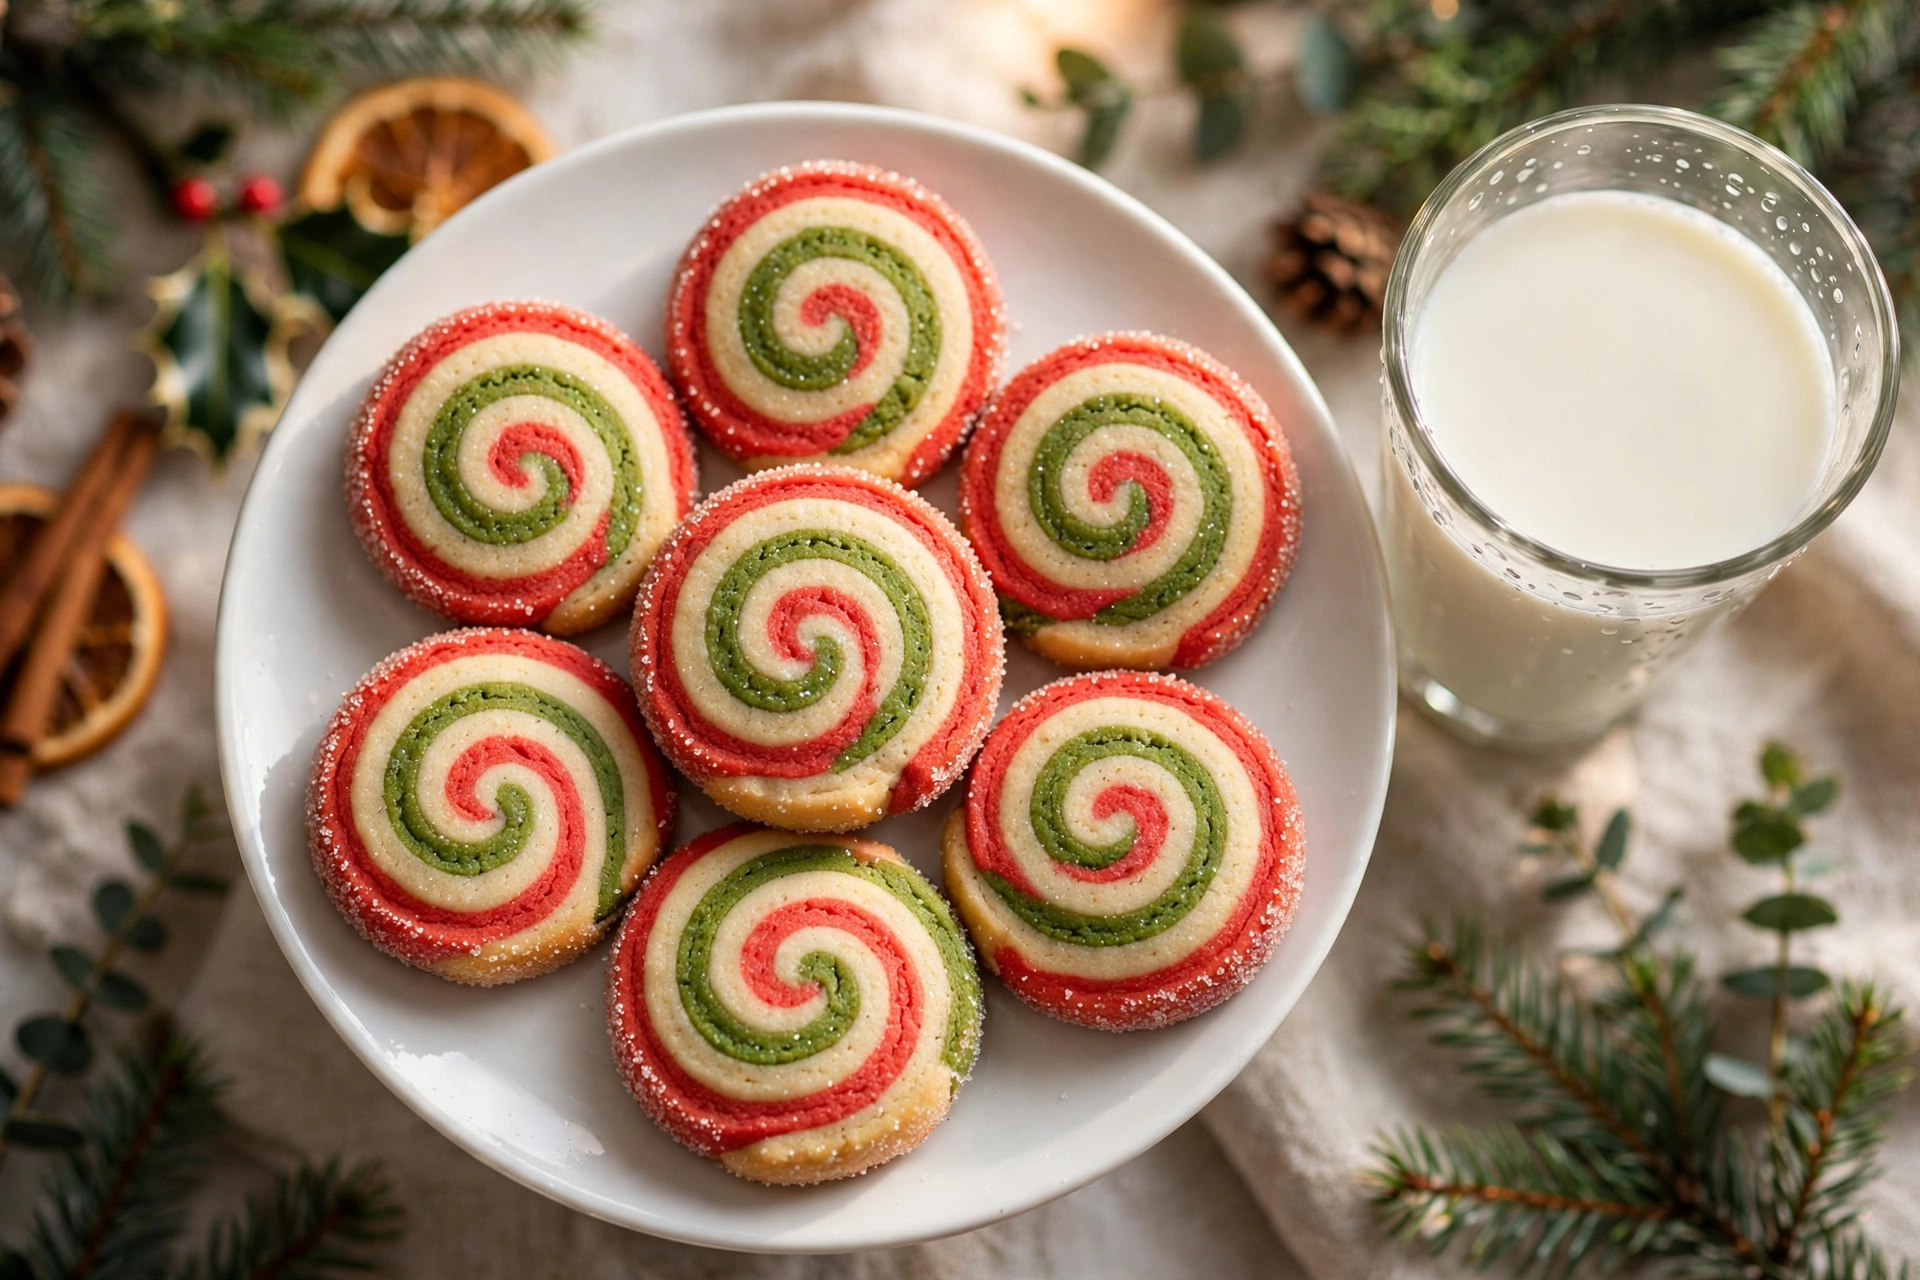
These christmas pinwheel cookies are the ones people pick up first from the cookie box: three clean ribbons of red, green and vanilla dough wound into a spiral, edged in sparkling sugar, buttery and tender under the decoration. They look like a project. They are mostly a nap in the fridge.
The pleasure is in the slice. A cold log, a clean cut, and a perfect spiral appears like a magic trick, thirty six times in a row. Children gasp; adults pretend not to. Every Christmas baker deserves one recipe that performs on cue.
I make the dough in November, freeze the logs, and bake them in December when the house already smells like cinnamon. The cookies keep their swirls, their manners, and their place at the front of every box I give away.
What Makes These Christmas Pinwheel Cookies Slice So Cleanly
These christmas pinwheel cookies hold their spiral because the dough is built like a sugar cookie and handled like a pastry: firm when it must be, soft only when it should be. Three equal layers of the same dough means nothing shrinks, melts or spreads at a different rate in the oven.
Equal thickness is the quiet secret. Each portion is rolled to the same rectangle, so the log winds evenly and every slice carries the same spiral. A scale helps: three portions of about 300 grams each remove the guesswork that makes lopsided pinwheels.
The third layer matters more than people think. Most versions stack red on green and stop, which muddies the spiral. The plain vanilla layer between the colors is what makes each ribbon read clearly, red, cream, green, like the stripes of a candy cane.
And the edge is not an afterthought. Rolling the finished log in sanding sugar before chilling gives every cookie a crisp, sparkling rim that frames the swirl and adds the one crunchy note in a tender cookie.
Under the colors, this is a proper butter cookie, not a vehicle for food dye. The crumb is fine and sandy at the edges, soft at the center, and the almond extract sits quietly behind the vanilla so people taste something festive they cannot quite name. Serve them cool, never warm: a warm pinwheel tastes buttery and plain, while a cooled one tastes like the holidays.
Ingredients
- 3 cups (375 g) all-purpose flour, spooned and leveled
- 1 teaspoon baking powder
- 1/2 teaspoon fine salt
- 1 cup (225 g) unsalted butter, softened to cool room temperature
- 1 cup (200 g) granulated sugar
- 1 large egg, at room temperature
- 2 teaspoons vanilla extract
- 1/2 teaspoon almond extract
- Red gel food coloring
- Green gel food coloring
- 1/3 cup (about 65 g) red and green sanding sugar, for the edges
Rolling, Chilling and Slicing the Pinwheel Log
- Whisk the flour, baking powder and salt together in a medium bowl and set aside.
- In a large bowl, beat the butter and granulated sugar with a mixer for 2 to 3 minutes, until pale, fluffy and noticeably lighter in color. Beat in the egg, vanilla extract and almond extract until smooth.
- Add the dry ingredients in two additions, mixing on low just until no flour streaks remain. Do not overmix; the dough should be soft but not sticky.
- Divide the dough into three equal portions, about 300 g each if you have a scale. Knead red gel coloring into one portion and green into another, a drop at a time, until the colors are even and vivid. Leave the third portion plain.
- Flatten each portion into a rough rectangle, wrap, and chill for 30 minutes. Cold dough rolls without cracking and takes color layers cleanly.
- Roll each portion between two sheets of parchment into a rectangle about 9 by 12 inches, keeping the thickness as even as you can. Slide the sheets, still on their parchment, onto a tray and chill for 15 minutes.
- Stack the layers in this order: red on the bottom, plain in the middle, green on top. Peel the parchment off each top surface as you go, and brush the top of the red and plain layers very lightly with water so the layers grip. Trim the edges straight with a knife.
- Starting from a long side, roll the stack into a tight log, lifting with the bottom parchment to get the first turn snug. Pinch the seam closed and roll the log gently on the counter to even it out.
- Spread the sanding sugar on a tray and roll the log in it, pressing lightly so the sugar coats the whole surface. Wrap the log tightly in plastic wrap.
- Chill the log for at least 2 hours, turning it a quarter turn after the first 30 minutes so it stays round instead of flattening on one side. For baking later, freeze it at this stage (see the freezing notes below).
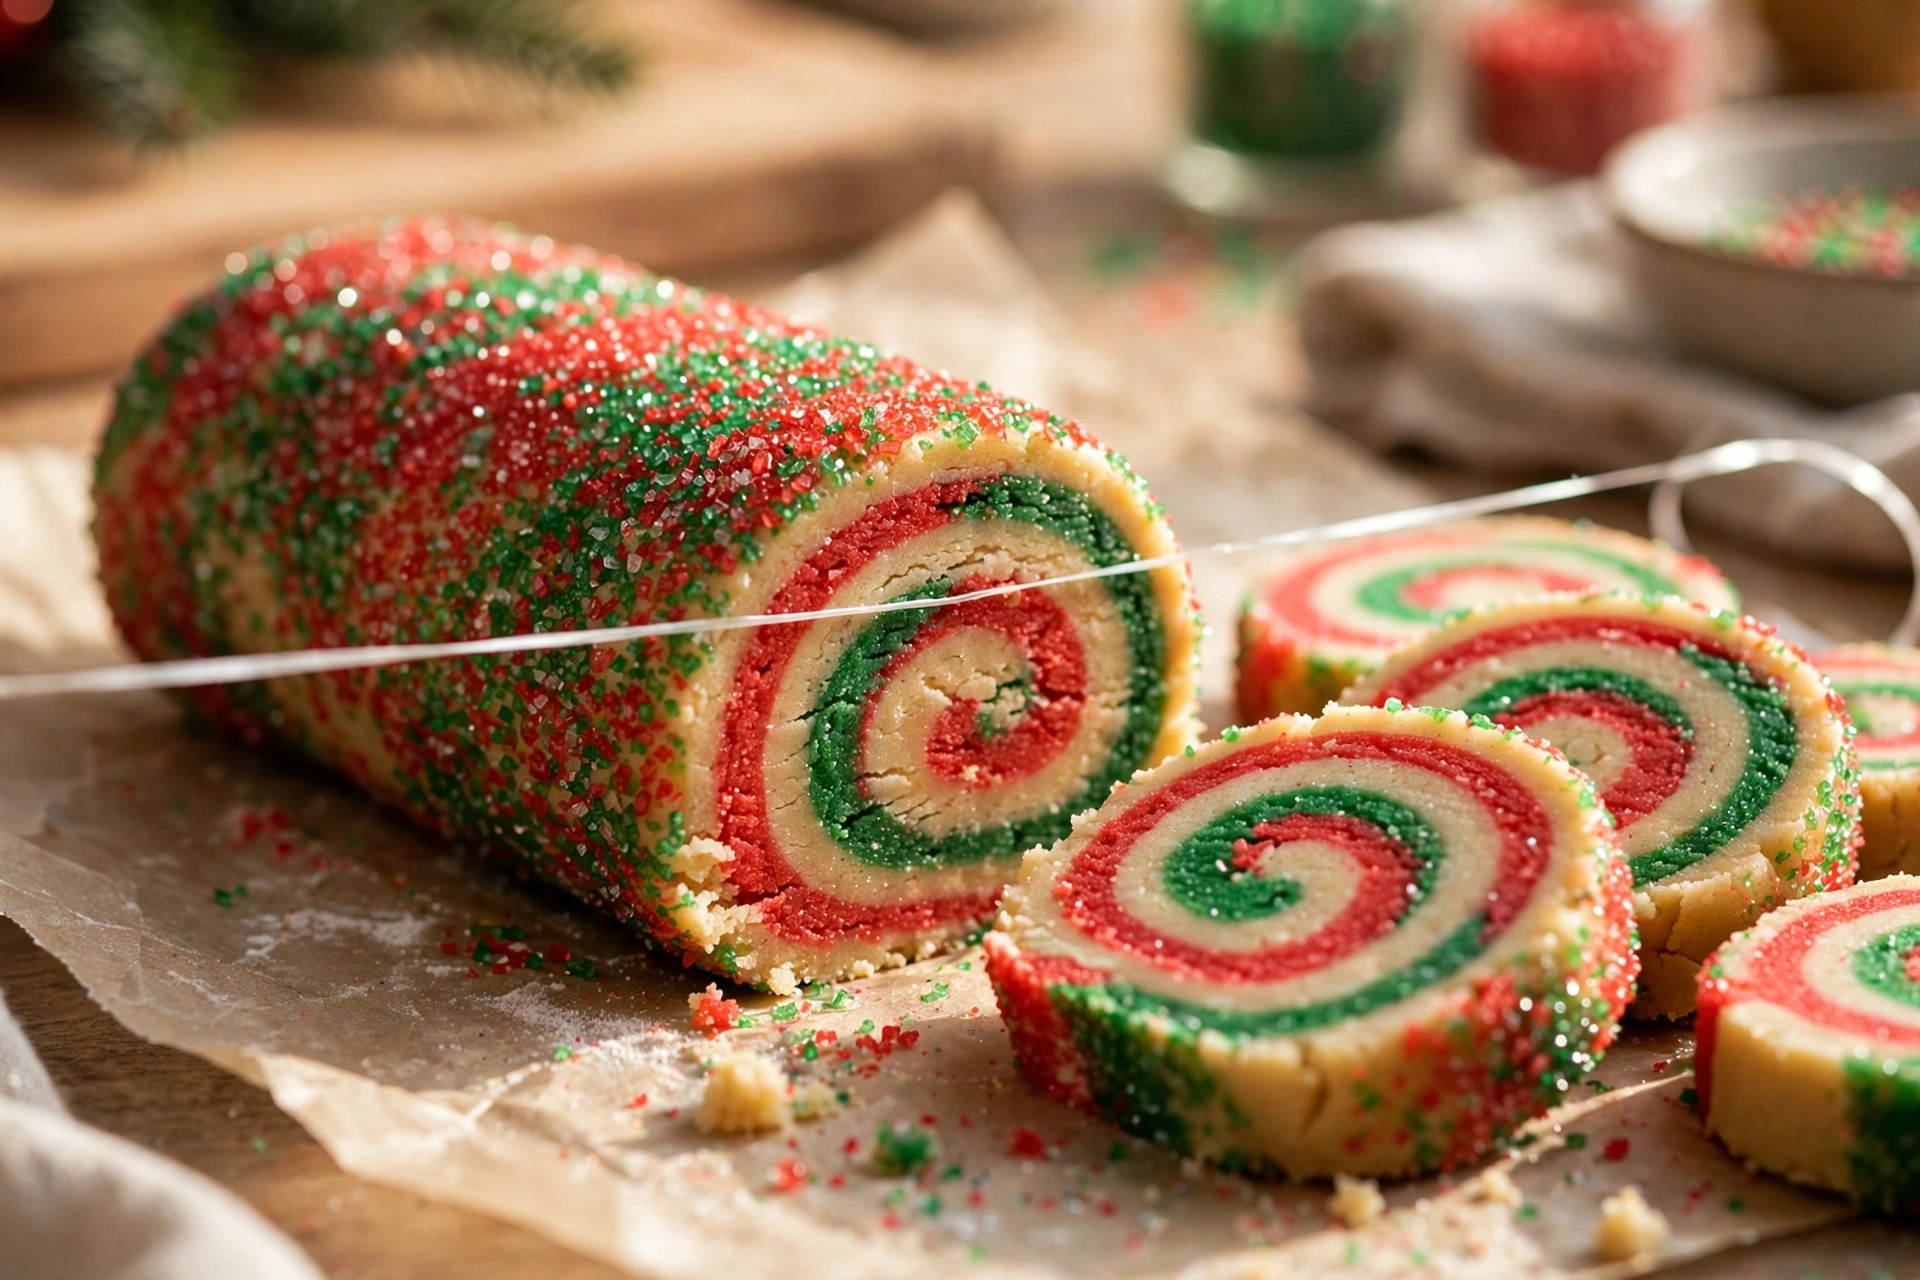
- Heat the oven to 350°F (175°C) and line two baking sheets with parchment. Unwrap the log and slice it into rounds a scant 1/4 inch thick, using unflavored dental floss or a thin, sharp knife wiped clean between cuts.
- Place the rounds 2 inches apart on the sheets. Bake for 10 to 12 minutes, until the edges are just set and the palest points are barely golden. The centers should still look soft. Cool on the sheet for 5 minutes, then move to a rack.
The Cold Rules That Keep the Swirls Sharp
Warm dough is the enemy of every pinwheel ever baked. Butter softens, layers slide, colors bleed into each other, and the spiral you rolled with such care comes out of the oven looking like a thumbprint. The rules below are the whole defense.
Rule one: the dough is cold at every decision point. It chills after mixing, after rolling into sheets, and again as a log. Each rest is short, but skipping any of them shows up in the slice. If your kitchen is warm, work with one sheet at a time and keep the others in the fridge.
Rule two: gel coloring, never liquid. Liquid color adds water, and water makes dough sticky, soft and prone to spreading, which blurs the ribbons you worked to build. Gel gives a saturated red and green with a few drops. Add it before chilling, while the dough is still pliable enough to knead evenly.
Rule three: cut cold, cut clean. A log straight from the fridge slices into rounds that keep their shape; a log left on the counter for twenty minutes squashes under the knife. Dental floss sounds like a trick until you try it: loop it under the log, cross the ends on top, and pull. The slice stays perfectly round.
If a batch of christmas pinwheel cookies spreads anyway, the dough was too warm or the butter was nearly melted when it went in. The flavor survives; only the geometry suffers. Chill the sliced rounds on the tray for 10 minutes before baking and the next tray will behave.
One last oven note. These cookies barely color, and bakers used to golden edges tend to leave them in too long. Pull them when the bottoms are just blonde and the tops look matte and set. An extra two minutes buys you a dry cookie whose swirl still looks perfect, which is a poor trade I have made so you do not have to.
Peppermint, Cocoa and Almond: Variations From the Same Dough
Once the basic log behaves, this dough takes variations gracefully, and a cookie box looks far richer when two logs are sliced side by side. All three of these keep the same method and the same cold rules.
Peppermint pinwheels. Replace the almond extract with 1/2 teaspoon peppermint extract and roll the log in crushed candy cane pieces mixed with the sanding sugar. The flavor reads instantly as Christmas, and the pink flecks in the edge are reason enough on their own.
Cocoa layer. For the plain layer, swap 3 tablespoons of the flour for 3 tablespoons of cocoa powder, weighed like the flour itself (the weights I trust track the USDA FoodData Central entries for flour and cocoa). The spiral turns red, chocolate and green, and the vanilla layers keep it from tasting like a brownie.
Almond all the way. Raise the almond extract to 1 teaspoon and press finely chopped toasted almonds onto the log instead of sanding sugar. Elegant, less sweet, and the version grown ups reach for with coffee.
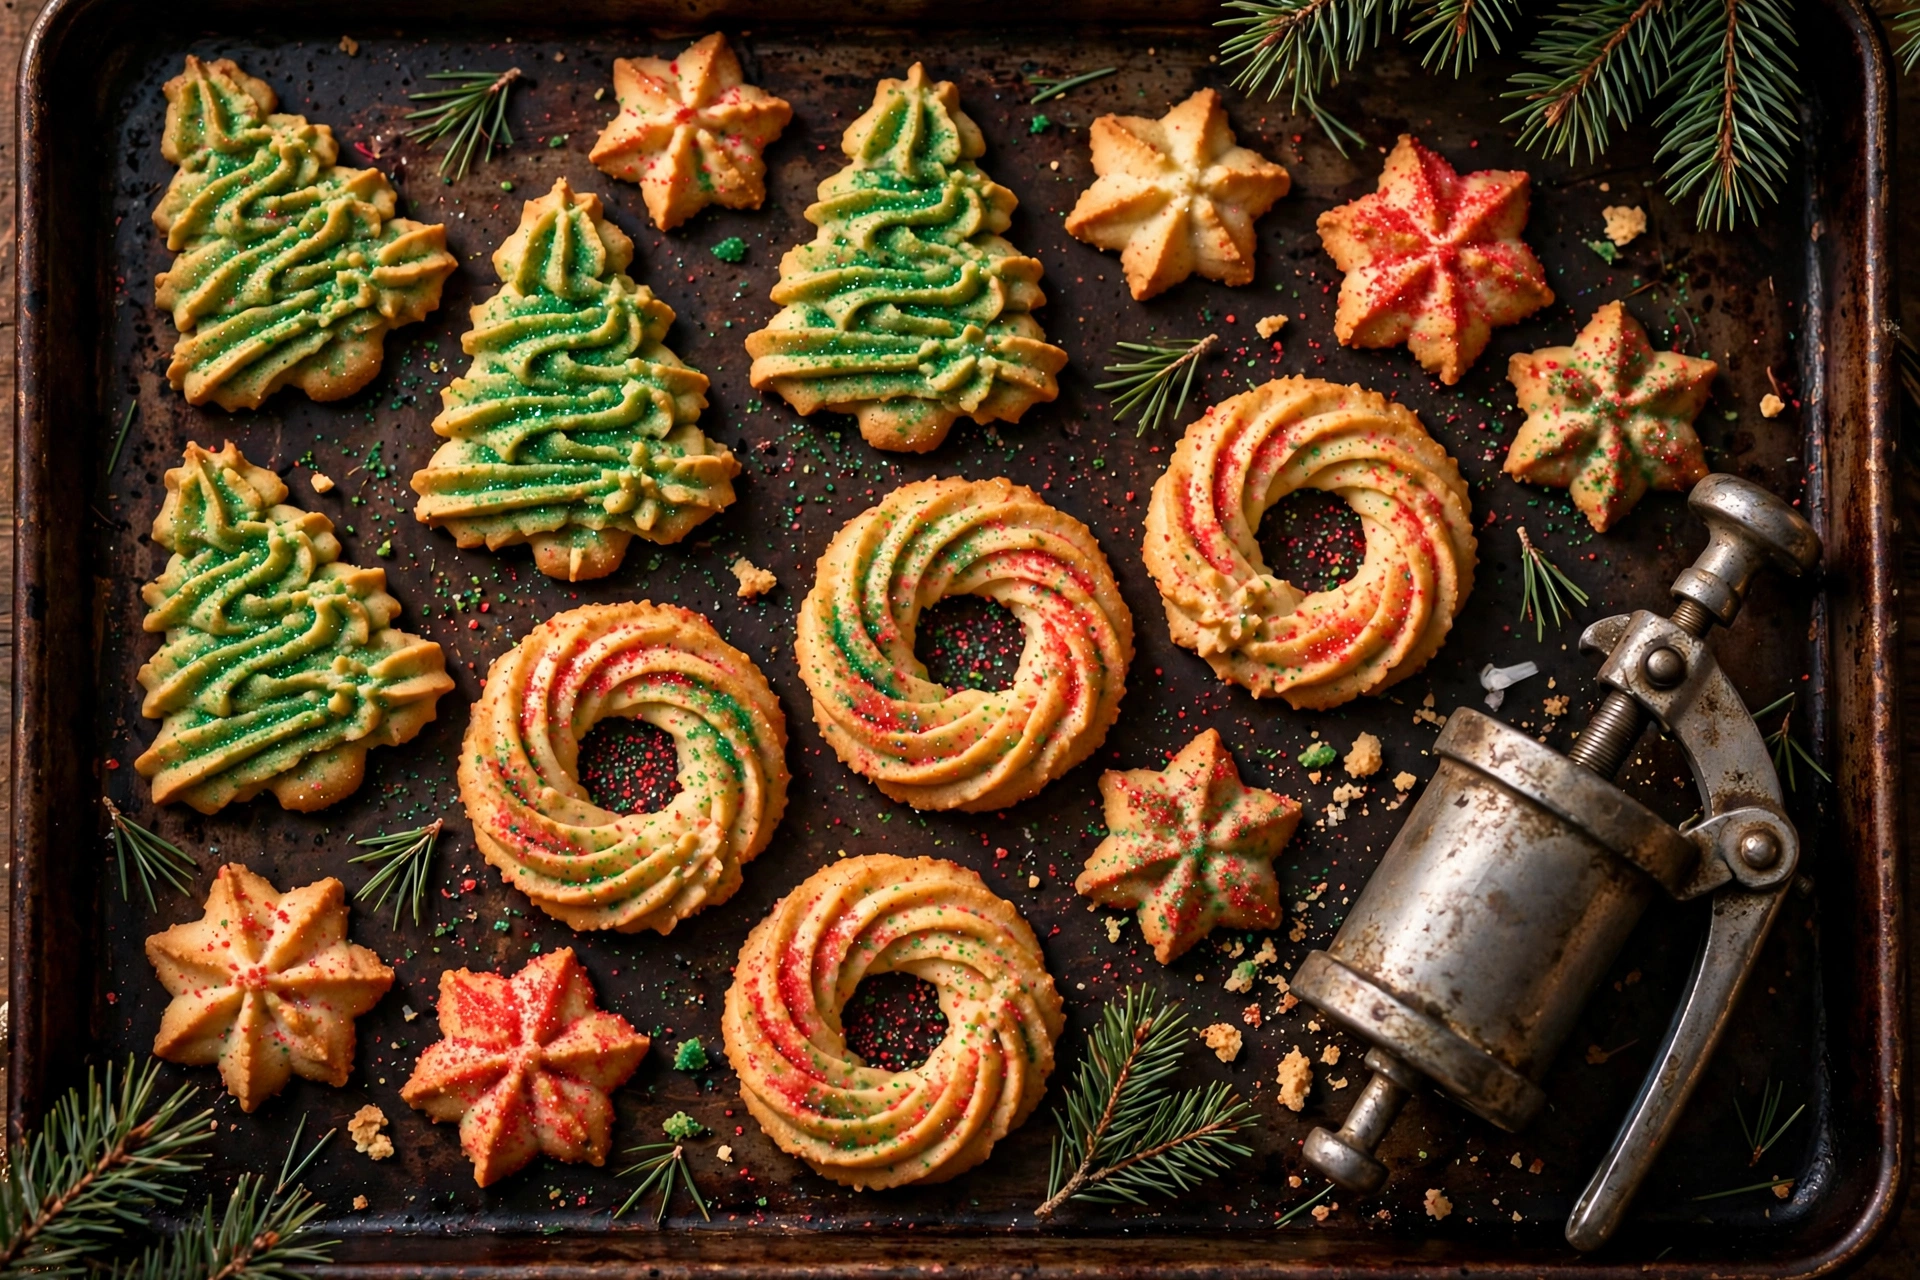
Whatever the variation, keep company in the box with the other bakers on your list: spritz cookies for piping practice, snowball cookies rolled in sugar by small hands, and gingerbread crinkle cookies for the spice lovers. A tin that includes cranberry pistachio biscotti for the coffee drinkers is a tin that comes back empty.
Freeze the Log Now, Bake Them in December
These are the christmas pinwheel cookies I point to when someone says December is too busy for baking. The work splits cleanly: an hour of pleasant assembly in November, ten minutes of slicing and baking whenever December asks for fresh cookies.
The wrapped log freezes for up to three months without losing color or flavor. Freeze it on a tray until solid so it keeps its round shape, then wrap it again in foil over the plastic. Label it with the date and the baking temperature; future you is grateful every time.
Bake from frozen or nearly so. Let the log stand at room temperature for 10 to 15 minutes, just until a knife can bite, then slice and bake as written, adding 1 minute to the time. The swirls actually slice sharper from a frozen log than from a merely chilled one.
Baked christmas pinwheel cookies keep for a week in an airtight tin at room temperature, layered with parchment, and they freeze baked for a month. Thaw them in the tin so the sanding sugar edge stays crisp, and never store them next to strong spice cookies, which perfume everything in the box.
For gifting, christmas pinwheel cookies travel unusually well for something this pretty. Their flat sides stack without breaking, the colors survive a car ride, and a dozen of them fanned in a clear bag with a ribbon look like a bakery order. If the box is being mailed, freeze the baked cookies first and pack them snugly; they thaw in transit and arrive tender.
The Cookie That Looks Like You Fussed
These christmas pinwheel cookies ask for a mixer, three bowls and a little patience with the fridge, and they pay it back every time a lid comes off a cookie tin. A clean spiral does the showing off for you, and it brings a small, satisfying order to the busiest baking month of the year.
Roll one log this week and freeze it. When December gets loud, slice, bake, and let the quietest recipe on your list be the one everyone photographs.
Questions I Get About These Pinwheel Cookies
Why did my colors bleed into each other? The dough was too warm when the layers were stacked, or liquid food coloring softened it. Use gel coloring, keep every layer chilled before stacking, and brush on only the lightest film of water between layers. A spiral that looks tidy going into the fridge will look tidy coming out of the oven.
My log flattened on one side in the fridge. How do I keep it round? Turn the log a quarter turn a few times during the first hour of chilling, before it firms up. For a frozen log, rest it inside a paper towel tube slit lengthwise, or across the curve of a baguette pan, so it cannot settle into a flat side.
The dough cracks when I roll it. What went wrong? It is too cold and too dry at the same time, usually from extra flour. Let the portion stand 5 minutes so the butter relaxes, then roll again between parchment. Next time, spoon and level the flour instead of scooping, which can add a quarter cup without meaning to.
Can I make the dough ahead for a cookie decorating day with kids? That is the best way to run it. Make and freeze the logs up to three months ahead, thaw in the fridge overnight, and let the children do the slicing (with floss), the sugaring and the tray arranging. The decorating is built into the cookie itself, so there is no icing chaos to manage.
Do I really need the sanding sugar edge? No, but it earns its place. It gives the tender cookie its only crunch, hides any small unevenness on the rim of the log, and makes the colors look deliberate. Plain granulated sugar works in its place, with a slightly softer sparkle.
Nutrition per serving (estimated, 36 cookies): Calories 110, Total Fat 6 g, Saturated Fat 3.5 g, Carbohydrates 15 g, Fiber 0 g, Sugar 7 g, Protein 1 g, Sodium 45 mg.
Prep Time: 45 minutes Cook Time: 12 minutes Total Time: 3 hours 30 minutes (including chilling) Yield: 36 cookies
Print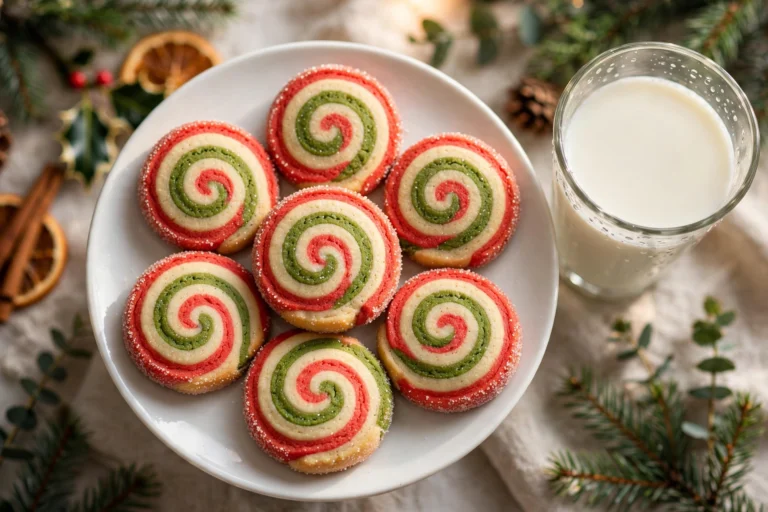
Christmas Pinwheel Cookies
Buttery christmas pinwheel cookies with three clean layers of vanilla, red and green dough, a sparkling sanding sugar edge, and a freeze-the-log plan so fresh cookies bake in minutes all December. Sharp swirls come from cold dough, gel coloring and a floss slice.
- Total Time: 3 hours 30 minutes
- Yield: 36 cookies 1x
Ingredients
- 3 cups (375 g) all-purpose flour, spooned and leveled
- 1 teaspoon baking powder
- 1/2 teaspoon fine salt
- 1 cup (225 g) unsalted butter, softened to cool room temperature
- 1 cup (200 g) granulated sugar
- 1 large egg, at room temperature
- 2 teaspoons vanilla extract
- 1/2 teaspoon almond extract
- Red gel food coloring
- Green gel food coloring
- 1/3 cup (about 65 g) red and green sanding sugar, for the edges
Instructions
- Whisk the flour, baking powder and salt together in a medium bowl and set aside.
- In a large bowl, beat the butter and granulated sugar with a mixer for 2 to 3 minutes, until pale, fluffy and noticeably lighter in color. Beat in the egg, vanilla extract and almond extract until smooth.
- Add the dry ingredients in two additions, mixing on low just until no flour streaks remain. Do not overmix; the dough should be soft but not sticky.
- Divide the dough into three equal portions, about 300 g each if you have a scale. Knead red gel coloring into one portion and green into another, a drop at a time, until the colors are even and vivid. Leave the third portion plain.
- Flatten each portion into a rough rectangle, wrap, and chill for 30 minutes. Cold dough rolls without cracking and takes color layers cleanly.
- Roll each portion between two sheets of parchment into a rectangle about 9 by 12 inches, keeping the thickness as even as you can. Slide the sheets, still on their parchment, onto a tray and chill for 15 minutes.
- Stack the layers in this order: red on the bottom, plain in the middle, green on top. Peel the parchment off each top surface as you go, and brush the top of the red and plain layers very lightly with water so the layers grip. Trim the edges straight with a knife.
- Starting from a long side, roll the stack into a tight log, lifting with the bottom parchment to get the first turn snug. Pinch the seam closed and roll the log gently on the counter to even it out.
- Spread the sanding sugar on a tray and roll the log in it, pressing lightly so the sugar coats the whole surface. Wrap the log tightly in plastic wrap.
- Chill the log for at least 2 hours, turning it a quarter turn after the first 30 minutes so it stays round instead of flattening on one side. For baking later, freeze it at this stage.
- Heat the oven to 350°F (175°C) and line two baking sheets with parchment. Unwrap the log and slice it into rounds a scant 1/4 inch thick, using unflavored dental floss or a thin, sharp knife wiped clean between cuts.
- Place the rounds 2 inches apart on the sheets. Bake for 10 to 12 minutes, until the edges are just set and the palest points are barely golden. The centers should still look soft. Cool on the sheet for 5 minutes, then move to a rack.
- Prep Time: 45 minutes
- Cook Time: 12 minutes