Apple Crisp With a Thick, Clumpy Oat Topping That Stays Crisp
In this article:
- Why This Apple Crisp Topping Bakes Into Clumps Instead of a Sheet
- Half Tart, Half Sweet: the Two Apple Blend and the Sugar Adjustment
- Ingredients for the Apple Filling and the Clumpy Oat Topping
- How to Make Apple Crisp, Step by Step
- The Thanksgiving Timeline: Assemble Wednesday, Bake During the Turkey Rest
- Runny Filling, Soggy Top: Apple Crisp Fixes With Numbers
- Pecans in the Topping, Pears in the Pan: Swaps That Keep It a Crisp
- Storage: Two Days on the Counter and the 350 Degree Revival
- The Dessert That Waits Patiently at the End of the Table
- FAQ
Apple crisp is the dessert that forgives a busy cook. The apples bake under a blanket of oat crumble until their edges go jammy and the topping turns the deep gold of toasted butter. Served warm, it smells like every good November kitchen at once.
The failure version is just as familiar: a pale topping that steams instead of crisping, and apples swimming in thin juice. Both problems are technique, not luck, and both are fixed inside this recipe with two small habits and one honest measurement.
It is also the most practical pie alternative on the Thanksgiving table. No crust to roll, no lattice to weave, and a full 9 by 13 dish assembled the day before, ready to slide into the oven the moment the turkey comes out to rest.
Why This Apple Crisp Topping Bakes Into Clumps Instead of a Sheet
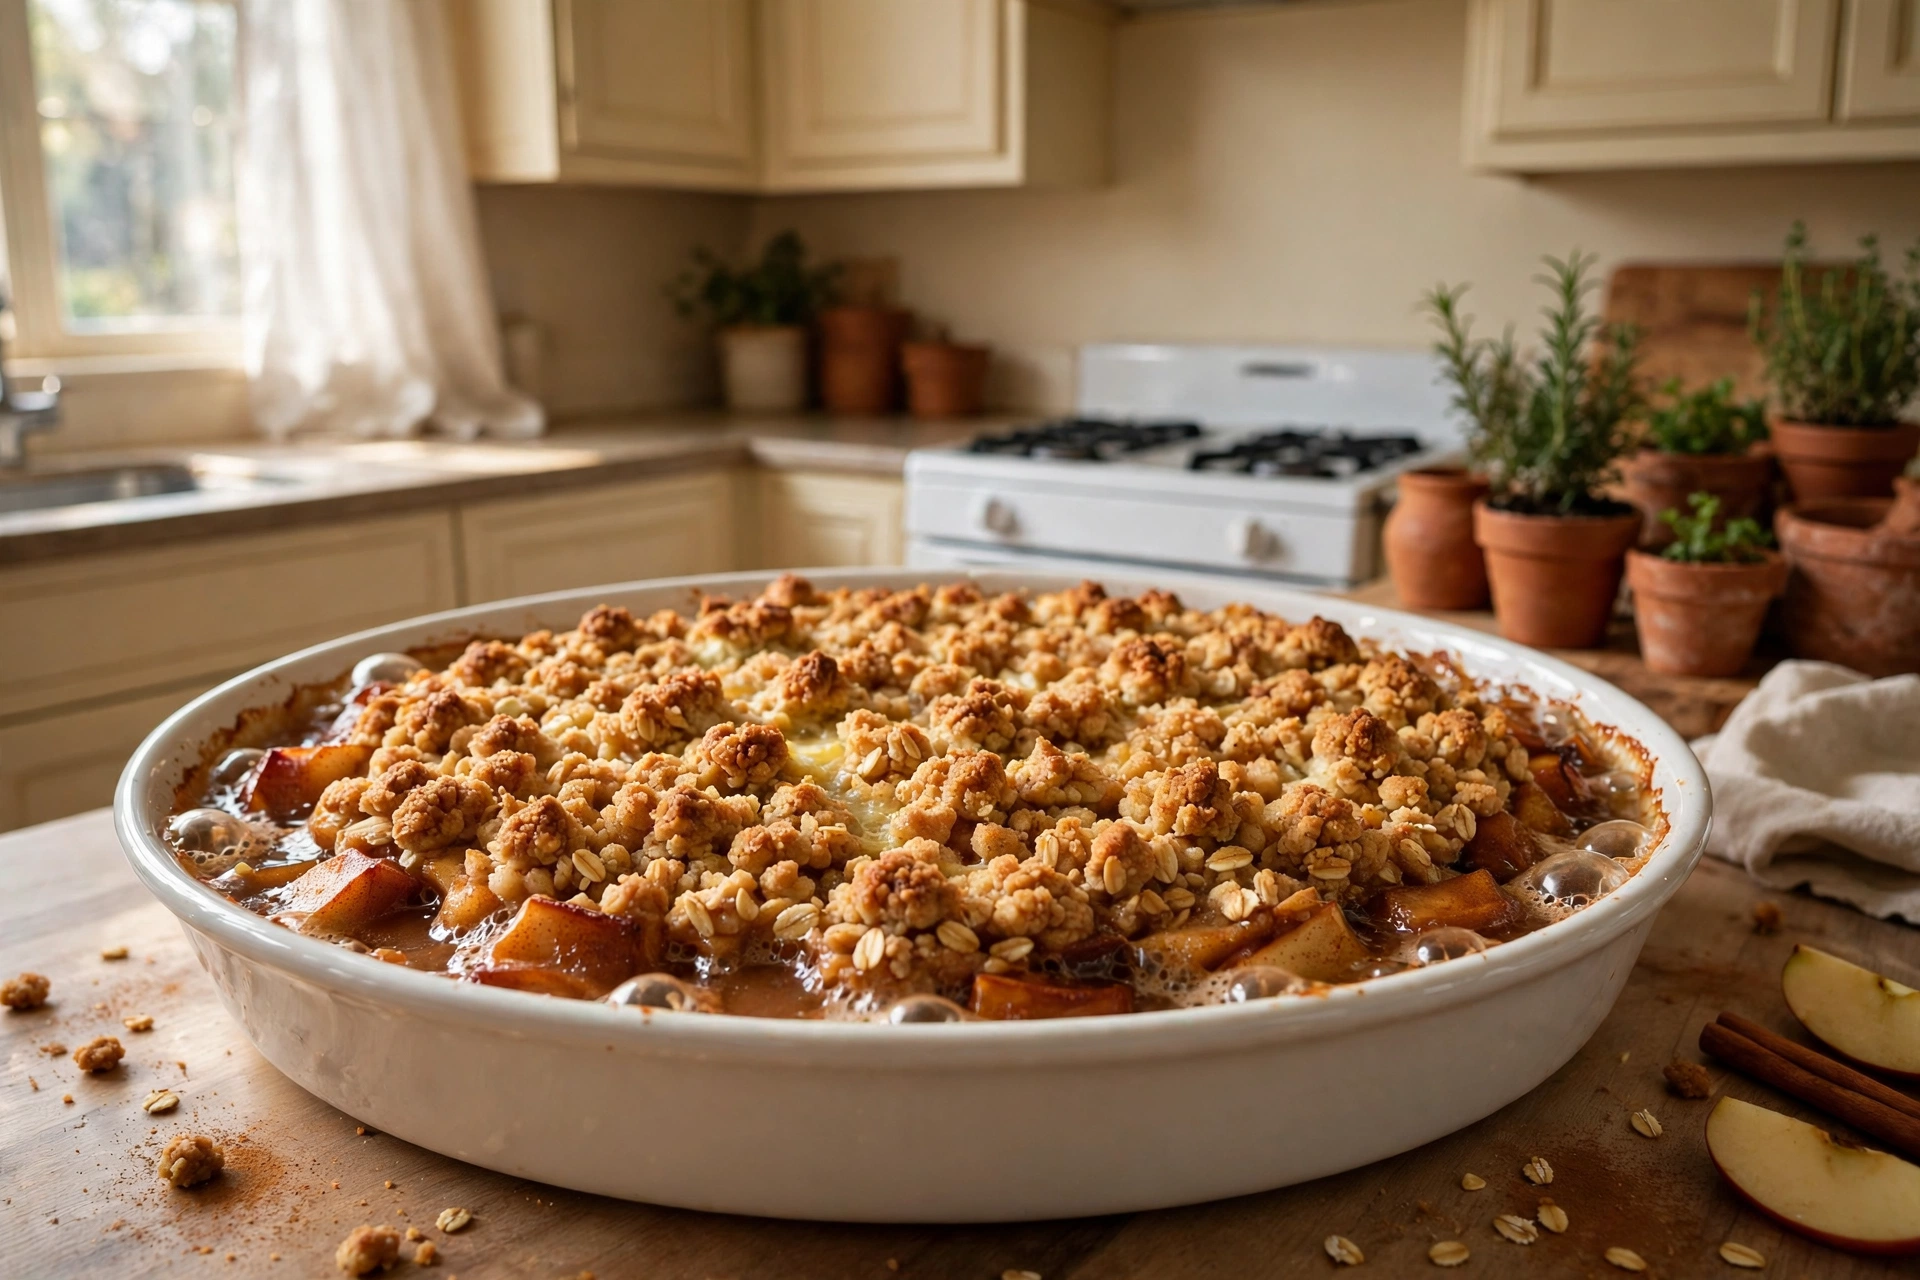
Apple crisp succeeds or fails on the topping, and the topping turns on one choice: melted butter, tossed through the dry ingredients and then chilled. Melted butter coats every oat and flour particle evenly, so the mixture clumps instead of staying sandy.
Those clumps matter in the oven. A sandy topping melts into a thin sheet that steams over the fruit and goes soft. Clumps keep their edges, and edges are where crisping happens. Each one browns like a tiny oatmeal cookie sitting on top of the apples.
The ten minute chill is the second half of the trick. Cold, firm clumps hold their shape during the first minutes of baking instead of slumping flat. By the time the butter loosens, the flour has set enough to keep the clusters standing.
The filling has its own quiet insurance. Two tablespoons of cornstarch across nine cups of apples gel the juices into a glossy sauce that clings to the fruit. Flour can turn that sauce cloudy and pasty; cornstarch stays clear and lets the apples taste like apples.
Slice thickness ties it together. Wedges cut a quarter inch thick soften in the same 45 minutes the topping needs to brown. Thicker chunks stay firm in the middle, and thinner slices collapse into sauce before the top is done.
Dish size quietly protects the ratio. A 9 by 13 pan spreads the apples in a layer shallow enough to cook through while the topping browns. Crowd the same filling into a deep dish and the top finishes long before the center even simmers.
Half Tart, Half Sweet: the Two Apple Blend and the Sugar Adjustment
A single variety makes a one note filling. Half Granny Smith and half Honeycrisp gives you structure and perfume in the same bite: the tart apples hold their shape and brightness, the sweet ones melt at the edges and round everything out.
Weight is the reliable measure, because apples vary wildly in size. You want about three and a half pounds in total, roughly nine cups sliced. Buy seven or eight large apples and the blend takes care of itself.
Sugar follows the blend, not a fixed habit. The half cup in the recipe suits the half tart mix. If your apples are all sweet varieties, drop it to a third of a cup; if they are all Granny Smith, go up to two thirds and thank yourself later.
Peeling is worth the ten minutes here. Skins toughen in the oven and curl into papery ribbons between the slices. A peeled filling eats like a composed dessert, and the lemon juice in the bowl keeps the slices pale while you work.
Ingredients for the Apple Filling and the Clumpy Oat Topping
- 1 3/4 pounds Granny Smith apples, peeled and sliced 1/4 inch thick
- 1 3/4 pounds Honeycrisp apples, peeled and sliced 1/4 inch thick
- 1 tablespoon lemon juice
- 1/2 cup granulated sugar
- 2 tablespoons cornstarch
- 1 1/2 teaspoons ground cinnamon
- 1/4 teaspoon ground nutmeg
- 1 teaspoon vanilla extract
- 1/4 teaspoon fine sea salt
- 1 1/4 cups old-fashioned rolled oats
- 1 cup all-purpose flour
- 3/4 cup packed light brown sugar
- 1/4 cup granulated sugar
- 1 teaspoon ground cinnamon
- 1/2 teaspoon fine sea salt
- 10 tablespoons unsalted butter, melted, plus more for the dish
The two sugars in the topping do different jobs. Brown sugar brings moisture and a caramel depth, while the smaller measure of white sugar helps the clump edges set firm and shattering in the oven.
Old-fashioned oats are the right flake for this. Their thick shape survives the butter and the bake, so the topping stays nubby. Quick oats drink the butter and bake up pasty, the one swap this recipe quietly refuses.
How to Make Apple Crisp, Step by Step
- Heat the oven to 375 degrees F. Butter a 9 by 13 inch baking dish and set it on a rimmed baking sheet to catch any enthusiastic bubbling.
- Toss the apple slices with the lemon juice in a large bowl as you slice, so nothing browns while you work.
- Stir the granulated sugar, cornstarch, cinnamon, nutmeg, vanilla and salt over the apples. Toss until every slice looks evenly dusty, then rest the bowl for 10 minutes so the juices begin to draw out.
- Make the topping in a second bowl: stir the oats, flour, both sugars, cinnamon and salt, then pour in the melted butter and toss with a fork until the mixture forms clumps of every size.
- Pinch a handful of topping and squeeze gently to form a few large clusters, then refrigerate the whole bowl for 10 minutes while the oven finishes heating.
- Turn the apples and all their juices into the dish and level them. Scatter the chilled topping over the fruit in an even layer, keeping the clumps intact.
- Bake for 40 to 45 minutes, until the topping is deep golden and the filling bubbles thickly at the center, not just at the edges.
- Rest the crisp for at least 20 minutes before serving. The sauce finishes setting as it cools, and the topping firms into its final crunch.
Serve it warm, straight from the dish, with vanilla ice cream or softly whipped cream. If the meal runs long, the crisp holds happily at room temperature and reheats in ten minutes, which the timeline below puts to work.

The Thanksgiving Timeline: Assemble Wednesday, Bake During the Turkey Rest
The oven schedule on Thanksgiving is a negotiation, and this crisp is an easy negotiator. It bakes at 375 degrees F, close enough to most turkey finishing temperatures that it can share the oven or take the first solo slot after the bird.
On Wednesday, slice the apples and toss them with everything except the cornstarch, then refrigerate in a covered bowl. Make the topping, clump it and refrigerate it separately in its own container. Keeping the two apart is what keeps Thanksgiving Day simple.
On Thursday, stir the cornstarch through the apples, assemble the dish in five minutes, and bake it while the turkey rests under foil. Forty five minutes of resting does the bird no harm, and most turkeys honestly improve for it.
If dessert waits until after the plates clear, hold the baked crisp at room temperature and give it 10 minutes in a 350 degree F oven before serving. The topping comes back to full crunch, and the filling warms through without cooking further.
Runny Filling, Soggy Top: Apple Crisp Fixes With Numbers
A runny filling almost always traces back to one of three causes: the crisp was cut too soon, the apples were unusually juicy, or the thickener was skipped. The rest is not optional. Twenty minutes lets the cornstarch gel finish setting as the temperature falls.
For a batch already baked and loose, simmer is not an option, but the next one is fixable: add one extra tablespoon of cornstarch for every cup of juice you saw pooled in the dish. Very juicy late season apples can need that full adjustment.
A soggy topping the next day is a moisture story, not a recipe failure. Steam from the warm filling softens any crisp left covered overnight. Reheat slices uncovered at 350 degrees F for 8 to 10 minutes and the clumps dry back out to a proper crunch.
One more prevention for next time: bake until the filling bubbles at the center of the dish. Edge bubbles start early and lie to you. Center bubbles mean the cornstarch has reached the temperature where it actually thickens.
Pecans in the Topping, Pears in the Pan: Swaps That Keep It a Crisp
A half cup of chopped pecans or walnuts folded into the topping adds a toasty second crunch, especially welcome on a holiday table. Keep the oat measure the same and stir the nuts in after the butter, so they coat and brown instead of scorching.
Firm pears can take the place of half the apples for a gentler, floral filling. Choose pears that are just ripe, not soft, and keep the slice thickness identical so both fruits finish together.
For a gluten free pan, replace the flour in the topping with a one to one gluten free baking blend and confirm your oats are certified gluten free. The cornstarch filling is already safe, and the method does not change at all.
A pinch of ground ginger or cardamom in the filling shifts the whole dish toward warm spice without announcing itself. Either one plays well with the cinnamon and with the other desserts on the table, like our classic pumpkin pie.
Storage: Two Days on the Counter and the 350 Degree Revival
Covered loosely, the baked crisp keeps at room temperature for up to 2 days, and the topping actually holds better there than in the refrigerator. Beyond that, refrigerate it, covered, for up to 4 days in total.
Those windows follow the USDA FoodKeeper guidance for baked fruit desserts, and they assume the pan cooled fully before covering. Trapping steam under wrap on a warm crisp is the fastest route to a soft top.
Freezing works best before baking. Assemble the apples and topping in a freezer safe dish, wrap it twice, and freeze for up to 3 months. Bake from frozen at 375 degrees F, adding 15 to 20 minutes and tenting with foil if the top browns early.
Individual servings reheat just as well. A single bowl needs only 5 minutes in the same 350 degree F oven, or a minute in the microwave if crunch is not the priority at that particular moment. The oven route is worth it on day two.
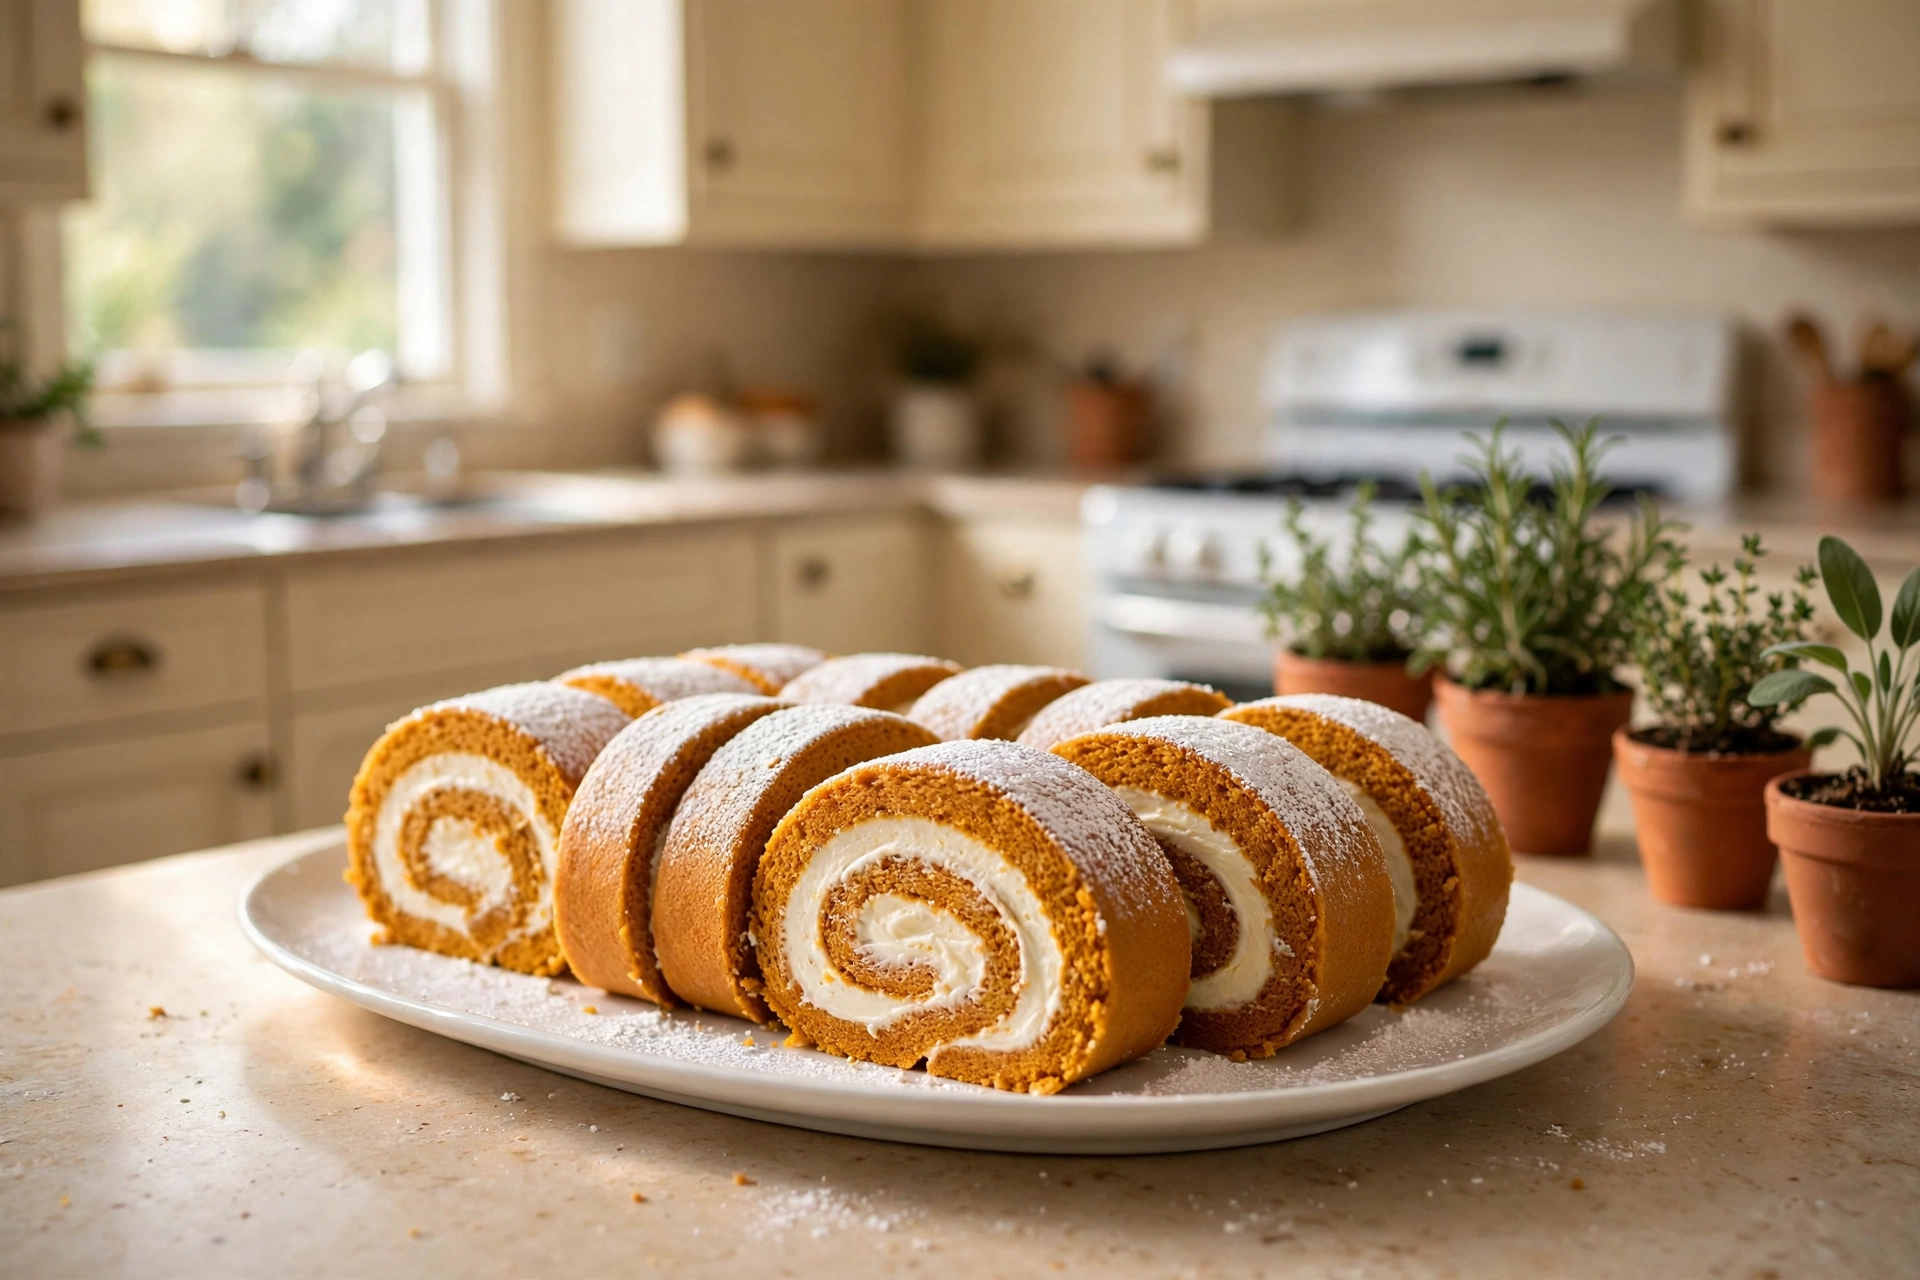
On our table the crisp rarely travels alone for long. It shares the dessert spread with pumpkin roll for the cream cheese loyalists and classic homemade pecan pie for the traditionalists, and it is always the first dish scraped clean.
The Dessert That Waits Patiently at the End of the Table
Apple crisp asks for nothing at serving time. No slicing geometry, no unmolding, no sauce to keep warm. You carry the dish to the table, hand over a big spoon, and the oldest dessert in the American kitchen does the rest.
That patience is its holiday genius. Pies demand precision at the exact moment the cook has none left. The crisp simply waits, warm and unbothered, for the meal to find its way to dessert.
Make it once with the clump method and the two apple blend, and the recipe becomes a reflex every November. It is the pan you reach for when the list is long and the dessert still has to be wonderful.
FAQ
Do I need to peel the apples for apple crisp?
Peeling is strongly recommended. Skins toughen during the 45 minute bake and curl into papery ribbons that interrupt the soft filling. A peeled crisp eats like a composed dessert, and the lemon juice in the bowl keeps the slices from browning while you work.
What is the difference between apple crisp, crumble and cobbler?
It is all in the topping. A crisp contains oats, which bake into a crunchy, clumpy layer. A crumble is the same idea without oats, more like streusel. A cobbler is topped with biscuit or batter dough, so it eats soft and cakey instead of crunchy.
Can I use quick oats instead of old-fashioned oats in the topping?
You can, but the topping will suffer. Quick oats absorb the melted butter fast and bake up soft and pasty instead of nubby. Old-fashioned rolled oats keep their shape through the bake, which is exactly what gives this topping its clumps and crunch.
Why is my apple crisp filling runny?
Usually it was sliced before the 20 minute rest finished, so the cornstarch gel had not set, or the apples were extra juicy. Next time, bake until the filling bubbles at the center of the dish and add one tablespoon of cornstarch for every cup of juice you expect from very juicy fruit.
Can I freeze apple crisp before baking it?
Yes, and it is the best way to freeze it. Assemble the filling and topping in a freezer safe dish, wrap twice and freeze for up to 3 months. Bake from frozen at 375 degrees F for 55 to 65 minutes, tenting with foil if the topping browns before the center bubbles.

Apple Crisp
A 9 by 13 apple crisp built on a half tart, half sweet apple blend and a topping trick worth keeping: melted butter tossed through the oats and flour, then chilled so it bakes into thick golden clumps instead of a flat sheet. Cornstarch keeps the filling glossy, the Thanksgiving timeline is built in, and the topping revives to full crunch in a 350 degree oven.
- Total Time: 1 hour 30 minutes
- Yield: One 9 by 13 inch crisp, 10 servings 1x
Ingredients
- 1 3/4 pounds Granny Smith apples, peeled and sliced 1/4 inch thick
- 1 3/4 pounds Honeycrisp apples, peeled and sliced 1/4 inch thick
- 1 tablespoon lemon juice
- 1/2 cup granulated sugar
- 2 tablespoons cornstarch
- 1 1/2 teaspoons ground cinnamon
- 1/4 teaspoon ground nutmeg
- 1 teaspoon vanilla extract
- 1/4 teaspoon fine sea salt
- 1 1/4 cups old-fashioned rolled oats
- 1 cup all-purpose flour
- 3/4 cup packed light brown sugar
- 1/4 cup granulated sugar
- 1 teaspoon ground cinnamon
- 1/2 teaspoon fine sea salt
- 10 tablespoons unsalted butter, melted, plus more for the dish
Instructions
- Heat the oven to 375 degrees F. Butter a 9 by 13 inch baking dish and set it on a rimmed baking sheet.
- Toss the apple slices with the lemon juice in a large bowl as you slice.
- Stir the granulated sugar, cornstarch, cinnamon, nutmeg, vanilla and salt over the apples, toss until evenly coated, and rest for 10 minutes.
- In a second bowl, stir the oats, flour, both sugars, cinnamon and salt. Pour in the melted butter and toss with a fork until clumps form.
- Pinch a handful of the topping to form a few large clusters, then refrigerate the bowl for 10 minutes.
- Turn the apples and their juices into the dish and level them. Scatter the chilled topping over the fruit, keeping the clumps intact.
- Bake for 40 to 45 minutes, until the topping is deep golden and the filling bubbles thickly at the center.
- Rest for at least 20 minutes before serving warm, with vanilla ice cream or whipped cream.
Notes
Nutrition is an estimate based on the ingredients and cooking methods used.
- Prep Time: 25 minutes
- Cook Time: 45 minutes
Nutrition
- Serving Size: about 1 cup
- Calories: 385
- Sugar: 42
- Sodium: 185
- Fat: 15
- Saturated Fat: 9
- Unsaturated Fat: 5
- Trans Fat: 0
- Carbohydrates: 62
- Fiber: 5
- Protein: 3
- Cholesterol: 38