In this article:
Why You Will Love This Recipe
This classic pumpkin pie works because it treats the filling like the custard it is. Two-temperature baking sets the edges at high heat, then finishes the center gently so it never curdles or cracks. Evaporated milk gives the custard a concentrated dairy richness that regular milk cannot match. A hot baking sheet under the pie plate crisps the bottom crust, solving the soggy-bottom problem most recipes ignore.
The spice blend is measured for warmth, not fire. Cinnamon leads, ginger adds gentle heat, and small amounts of cloves and nutmeg build depth underneath. Brown sugar would work, but granulated sugar keeps the pumpkin flavor front and center where it belongs. Salt sharpens everything, a half teaspoon that makes the difference between flat and vibrant.
Most pumpkin pies fail in one of two ways, and this recipe guards against both. Overbaking is the number one cause of cracked, weepy filling, so the doneness cue is specific: pull the pie when the center still jiggles slightly. A pale, soggy bottom crust comes from a cold oven start, so the pie bakes on a preheated sheet from the first minute. Two small habits, one flawless pie.
What you get is the Thanksgiving dessert everyone expects, executed better than expected. Silky filling that slices cleanly, a golden flaky crust with crisp edges, and spice that tastes like autumn without overwhelming the pumpkin. If you are planning the full holiday table, our maple glazed roast turkey breast makes the perfect savory partner for this sweet finale.
This classic pumpkin pie asks for twenty minutes of active work and rewards you with the centerpiece dessert of the holiday. Whisking the filling takes five minutes, fitting the crust takes ten, and the oven handles the rest. There is no blind baking, no fussy water bath, no pastry degree required. A store-bought crust works beautifully here, and nobody will know unless you tell them.
Taste and Texture Profile
The first bite is pure autumn comfort. Sweet roasted pumpkin leads, earthy and mellow, before the warm spices bloom across the palate. Cinnamon is the most prominent, familiar and cozy, while ginger adds a gentle warmth at the back. Cloves and nutmeg stay in the background, noticeable only as depth, which is exactly how a classic spice blend should behave.
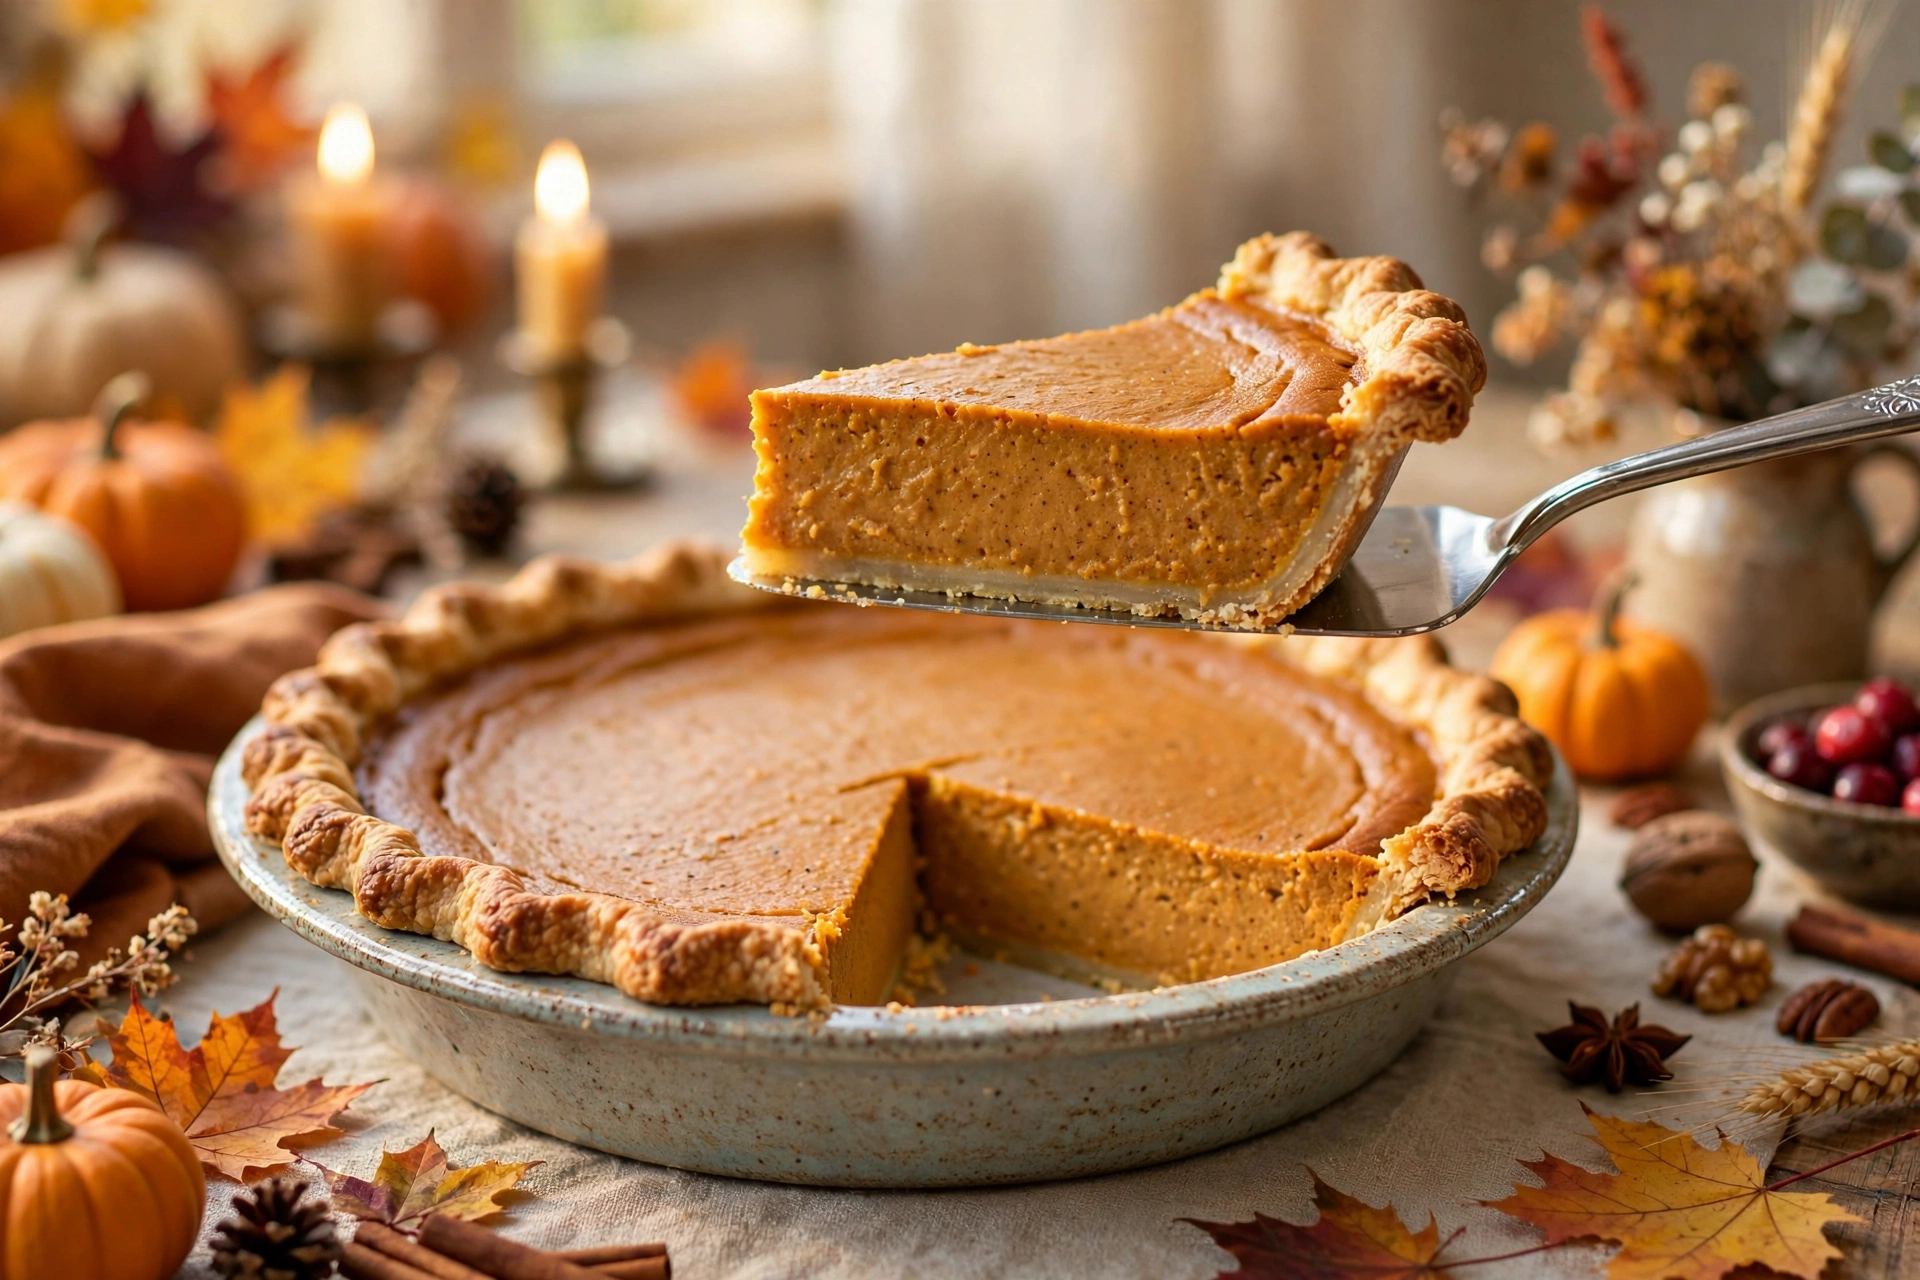
The custard texture is the whole point of a great pie. Properly baked, the filling is silky and dense, slicing cleanly with a sharp knife and holding its shape on the plate. It should feel creamy on the tongue, never grainy or rubbery. That silkiness comes from the eggs setting gently, which is why the two-temperature method matters more than any ingredient tweak.
The crust provides the essential contrast. A flaky, golden shell with crisp edges gives structure and buttery flavor against the soft filling. The bottom crust, baked on the preheated sheet, should be cooked through rather than pale and doughy. Nobody remembers a pie with a raw bottom fondly, and this method makes sure yours is not that pie.
Served chilled or at room temperature, the pie holds its own either way. Chilled slices are firmer and the spice tastes more pronounced, which many prefer for clean presentation. At room temperature the custard softens slightly and the pumpkin flavor opens up. Warm pie straight from the oven is tempting but the filling needs its cooling time to set, so patience pays.
Quick and Easy Preparation
This is a twenty-minute prep recipe with the oven doing the heavy lifting. The filling comes together in one bowl with a whisk, no mixer needed. Fitting a crust into the plate is the only step that asks for a little care, and even that is forgiving with a store-bought shell. The rest is waiting, and waiting counts as cooking on Thanksgiving.
Thanksgiving timelines are where this pie earns its keep. It bakes the day before beautifully, freeing oven space on the big day for the turkey and sides. The filling needs at least two hours of cooling anyway, so baking ahead is not just convenient, it is better. One less thing to juggle on Thursday morning is worth its weight in gravy.
Beginners succeed because the recipe removes the classic pitfalls. No blind baking means no pie weights, no parchment slings, no second guessing. The jiggle test for doneness is visual and forgiving, much easier than judging by color or time alone. If you can whisk and pour, you can make this pie.
The ingredient list is short and honest. One can of pumpkin puree, two eggs, sugar, spices, salt, evaporated milk, and a crust. Everything is available at any grocery store in October and November. For another make-ahead side that frees up your Thanksgiving oven, our slow cooker mashed potatoes stay warm and creamy for hours with zero attention.
Lighter and Diet Adaptations
A lighter version keeps its dignity with a few smart swaps. Use evaporated skim milk instead of whole, which cuts fat while keeping the concentrated dairy flavor that defines the custard. Reduce the sugar to half a cup and let the pumpkin and spice carry more of the load. The pie will be less rich but still unmistakably the beloved classic.
Canned pumpkin itself is a nutritional bright spot, naturally rich in vitamin A and fiber. The USDA FoodData Central database (fdc.nal.usda.gov) confirms that plain canned pumpkin packs significant nutrition per serving with minimal calories. Choosing pure pumpkin puree over sugary pie filling keeps that advantage intact.
For a dairy-free pie, full-fat coconut milk replaces the evaporated milk at a one-to-one ratio. The coconut flavor is subtle under the spice, and the custard sets just as firmly. Pair it with a dairy-free crust or a homemade coconut oil pastry. The result tastes like the classic first and adaptation second, which is the goal.
Gluten-free bakers can use any reliable gluten-free pie crust, homemade or store-bought, with zero changes to the filling. The custard itself is naturally gluten-free. Press the crust in firmly and chill it before filling, since gluten-free doughs can be more fragile. Nobody at the table will know the difference.
Ingredients
Measure the spices before you start, because the filling comes together in minutes once the whisking begins. Room temperature eggs blend into the pumpkin more smoothly than cold ones. Use pure pumpkin puree, not pumpkin pie filling, since the filling comes pre-sweetened and pre-spiced, which throws off the whole balance.
- 1 (9-inch) deep-dish pie crust, homemade or store-bought, unbaked
- 1 can (15 ounces) pure pumpkin puree (about 2 cups)
- 2 large eggs, at room temperature
- 3/4 cup granulated sugar
- 1 teaspoon ground cinnamon
- 1/2 teaspoon ground ginger
- 1/4 teaspoon ground cloves
- 1/4 teaspoon ground nutmeg
- 1/2 teaspoon fine salt
- 1 can (12 ounces) evaporated milk
- Whipped cream, for serving (optional but encouraged)
The pumpkin puree question deserves emphasis because it trips up beginners every year. Cans labeled pumpkin pie filling or pumpkin pie mix already contain sugar, spices, and sometimes thickeners. Using one in this recipe would double the sweetness and spice into something unrecognizable. The label should say 100 percent pumpkin, with pumpkin as the only ingredient.
Evaporated milk is the classic choice for a reason. It is milk with about half the water removed, which concentrates the proteins and milk sugars for a richer custard without added cream. Sweetened condensed milk also works and makes a sweeter, denser pie, but then reduce the sugar by half. Do not substitute regular milk one-to-one, since the extra water thins the custard.
On the crust, honesty beats pride. A good store-bought deep-dish shell bakes up flaky and golden, and it saves thirty minutes on a busy holiday. If you make your own, keep everything cold and do not overwork the dough. Either way, crimp the edges tall, because the filling puffs slightly as it bakes.
Step by Step Instructions
Position a rack in the lower third of the oven and place a sturdy rimmed baking sheet on it. Preheat the oven to 425°F with the sheet inside, so it is ripping hot when the pie goes in. Fit the pie crust into a 9-inch deep-dish pie plate, crimp the edges decoratively, and refrigerate the shell while you mix the filling.
- Mix the dry ingredients. In a small bowl, whisk together the sugar, cinnamon, ginger, cloves, nutmeg, and salt until evenly combined and no spice lumps remain.
- Combine pumpkin and eggs. In a large bowl, whisk the pumpkin puree and eggs until completely smooth. Beat out any streaks of egg white, since they bake into visible spots.
- Add the spice mixture. Pour the sugar and spice blend into the pumpkin mixture and whisk until fully incorporated. The mixture will look glossy and smell like autumn.
- Whisk in the evaporated milk. Pour the evaporated milk in slowly while whisking constantly, until the filling is uniform and fluid. Do not whip air into it, since bubbles bake into an uneven surface.
- Fill the chilled shell. Pull the pie shell from the refrigerator and set it on the preheated baking sheet, or pour the filling first and carry the sheet. Fill to just below the crimped edge, leaving a quarter inch of headroom.
- Bake hot, then reduce. Bake at 425°F for 15 minutes to set the crust and edges. Without opening the oven door more than necessary, reduce the temperature to 350°F.
- Finish baking gently. Continue baking 40 to 50 minutes, until the edges are set and the center jiggles slightly when the pan is nudged. A thin knife inserted near the center should come out mostly clean with a little moist filling clinging.
- Cool completely. Transfer to a wire rack and cool for at least 2 hours. The center finishes setting as it cools, which is why pulling it early matters. Refrigerate after cooling, and serve chilled or at room temperature with whipped cream.
Shield the crust edges if they brown too fast. A strip of foil or a silicone pie shield around the rim after the first 20 minutes keeps the crimp golden instead of dark. This is especially useful with homemade crusts, which brown faster than store-bought. Check once midway and shield only if needed.
Resist the urge to slice early. A warm pie looks set but the custard is still fragile, and early slices collapse into a tasty but sloppy pile. Two full hours of cooling gives clean, confident slices. If you are on a tight timeline, cool one hour at room temperature, then refrigerate one hour to finish.
Pro Tips for Perfect Results
Master the jiggle test and you will never crack a pie again. Nudge the pan gently: the outer two inches should look set and matte, while the center, about the size of a silver dollar, wobbles like gelatin. That wobble firms up during cooling. A center that does not move at all is already overbaked, and cracks follow within the hour.
Always bake on the preheated sheet. The blast of bottom heat starts cooking the lower crust immediately, which prevents the dreaded soggy layer under the custard. It also catches any drips if you slightly overfill the shell. Leave the sheet in the oven during preheating so it is fully hot, not just warm.
Do not overfill the shell. Custard expands slightly as it bakes, and filling past the crimp guarantees spillover onto the oven floor and a smoky kitchen. Leave a quarter inch of headroom. If you have extra filling, bake it in a small ramekin alongside the pie for a crustless treat.
Whisk gently, never vigorously. Beating air into the filling creates bubbles that rise and pop in the oven, leaving pockmarks on the surface. Stir with purpose but without whipping. A few taps of the filled pie on the counter before baking release any trapped bubbles.
Easy Swaps and Tasty Variations
Swap evaporated milk for sweetened condensed milk for a denser, sweeter, almost fudge-like pie. Reduce the granulated sugar to 1/3 cup to compensate, and keep everything else the same. The bake time stays identical. This version tastes like the nostalgic pies from mid-century recipe cards.
Add a flavor boost with a teaspoon of vanilla extract and a tablespoon of dark brown sugar replacing part of the white sugar. Vanilla rounds the spice edges and brown sugar adds caramel depth. These small changes keep the pie classic while giving it a slightly more complex personality.
Make a gingersnap crust for a spiced twist. Crush about 24 gingersnap cookies with 5 tablespoons of melted butter, press into the pie plate, and chill firm before filling. The ginger crust echoes the filling spices and adds a wonderful crunch. Reduce the oven temperature by 25 degrees for the first 15 minutes so the cookie crust does not over-brown.
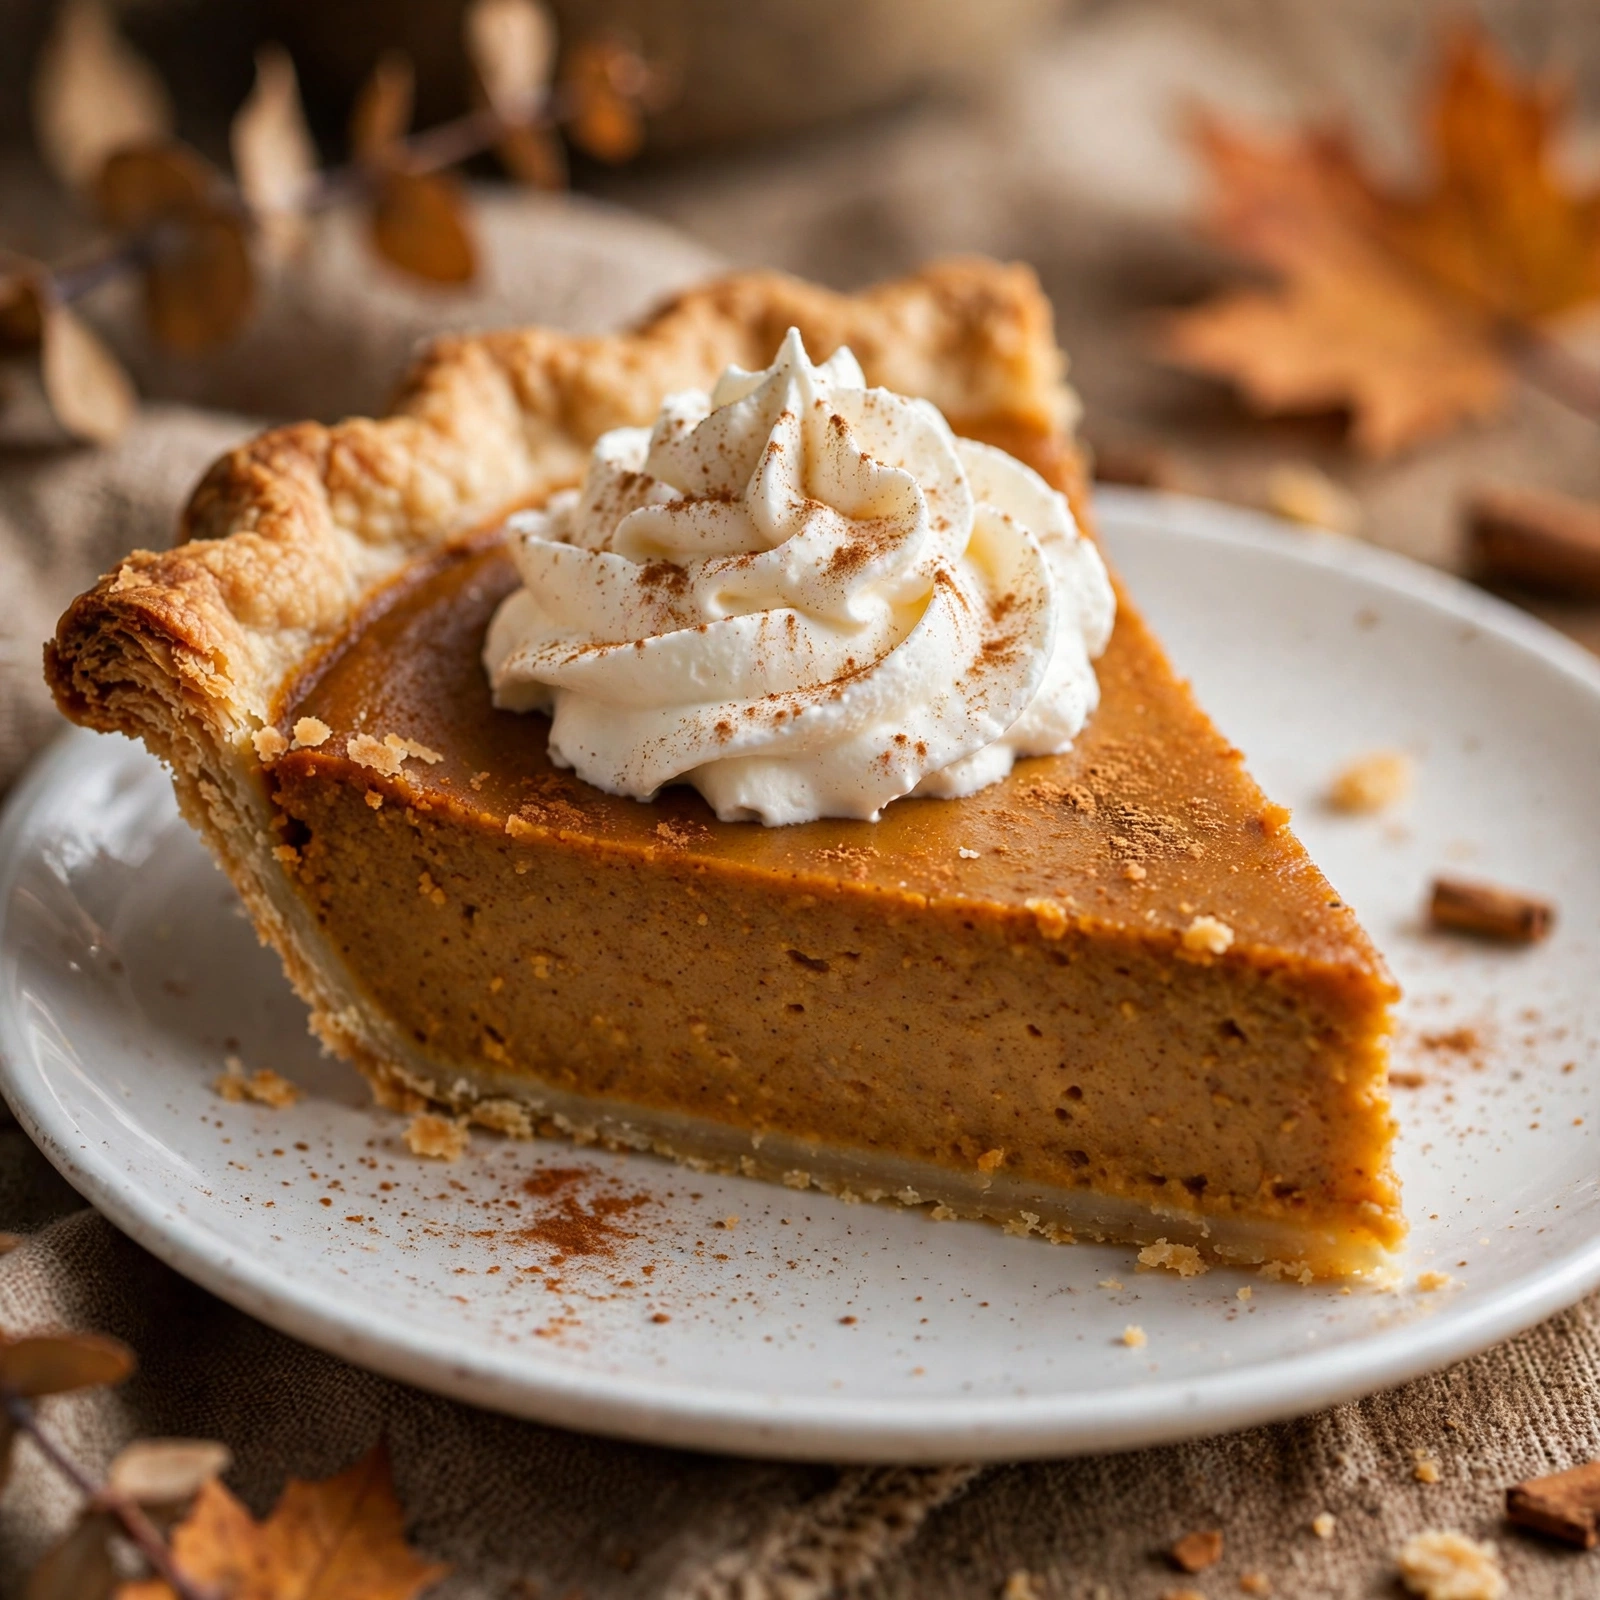
Top individual slices instead of the whole pie. A cloud of whipped cream, a dusting of cinnamon, and a few candied pecans turn each serving into a plated dessert. For the full Thanksgiving spread, pair this pie with our pecan pie bars and honey butter dinner rolls for a dessert table nobody forgets.
How to Store and Make Ahead
Refrigerate the cooled pie, loosely covered, for up to 4 days. The filling is an egg and dairy custard, so it must stay refrigerated, never at room temperature beyond serving time. Cover with plastic wrap or a pie dome once fully chilled, pressing the wrap lightly so it does not stick to the surface.
Bake the whole pie up to 2 days before Thanksgiving. Cool completely, refrigerate, and serve chilled or bring to room temperature 30 minutes before dessert. The flavor actually improves overnight as the spices meld. Whip the cream fresh on the day for the best texture and presentation.
Freeze for longer storage, up to 1 month. Cool the pie completely, wrap tightly in plastic wrap, then in foil, and freeze. Thaw overnight in the refrigerator, never on the counter. The texture stays remarkably good, though the crust loses a little crispness. Add fresh whipped cream to distract from any minor softening.
Conclusion
This classic pumpkin pie delivers everything Thanksgiving demands: silky spiced custard, flaky golden crust, and not a crack in sight. The two-temperature method and the preheated baking sheet do the technical work, so all you do is whisk, pour, and wait. It is the kind of reliable recipe that becomes a family tradition by its second year.
Bake it the day before the holiday, slice it with confidence, and watch it disappear before the coffee is poured. Some desserts are seasonal obligations, but this one earns its place. When someone asks for the recipe, and they will, you will know exactly which tips made it foolproof.
FAQ
Why did my pumpkin pie crack on top?
Cracks come from overbaking. The custard keeps cooking from residual heat after it leaves the oven, so pull the pie when the center still jiggles slightly. A thin knife near the center should come out mostly clean, not completely dry. Cooling the pie gradually on a wire rack instead of in a draft also helps.
Can I use fresh pumpkin instead of canned puree?
Yes, but roast sugar pumpkins, not carving pumpkins, and drain the puree well. Fresh pumpkin holds much more water than canned, so simmer the puree in a saucepan until thick or strain it through cheesecloth. Canned puree is more consistent, which is why most bakers prefer it for pie.
How do I know when pumpkin pie is done without overbaking?
Use the jiggle test: nudge the pan and look for set, matte edges with a center about the size of a silver dollar that wobbles like gelatin. That wobble firms during the two-hour cooling. If the whole surface is motionless, the pie is already past done and likely to crack.
Why is my pumpkin pie watery?
A watery layer usually means the pie was underbaked or cut while still warm, so the custard never fully set. It can also come from using pumpkin pie filling instead of pure puree, or from excess liquid in fresh pumpkin. Bake until the jiggle test passes, cool two full hours, and refrigerate before slicing.
Can I make pumpkin pie two days before Thanksgiving?
Absolutely, and it tastes better for it. Bake the pie, cool completely, and refrigerate loosely covered for up to two days. The spices meld overnight for deeper flavor. Serve chilled or at room temperature, and whip the cream fresh on Thanksgiving day for the best presentation.
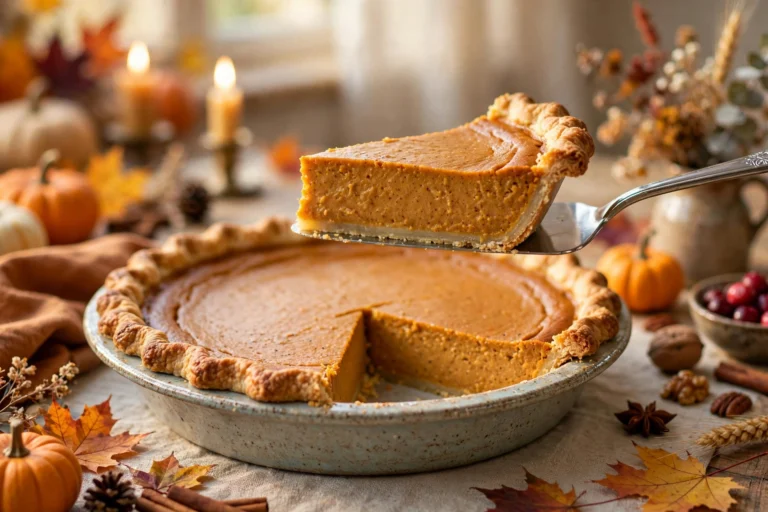
Classic Pumpkin Pie
Silky spiced pumpkin custard in a flaky golden crust, baked with a two-temperature method for a crack-free finish. The essential Thanksgiving dessert.
- Total Time: 3 hours 15 minutes
- Yield: 8 servings 1x
Ingredients
- 1 (9-inch) deep-dish pie crust, homemade or store-bought, unbaked
- 1 can (15 ounces) pure pumpkin puree
- 2 large eggs, at room temperature
- 3/4 cup granulated sugar
- 1 teaspoon ground cinnamon
- 1/2 teaspoon ground ginger
- 1/4 teaspoon ground cloves
- 1/4 teaspoon ground nutmeg
- 1/2 teaspoon fine salt
- 1 can (12 ounces) evaporated milk
- Whipped cream, for serving
Instructions
- Place a rimmed baking sheet on a rack in the lower third of the oven and preheat to 425F (220C). Fit the crust into a 9-inch deep-dish pie plate, crimp the edges, and refrigerate.
- Whisk the sugar, cinnamon, ginger, cloves, nutmeg, and salt in a small bowl until evenly combined.
- In a large bowl, whisk the pumpkin puree and eggs until completely smooth.
- Add the sugar and spice mixture and whisk until fully incorporated.
- Pour in the evaporated milk slowly while whisking, until the filling is uniform and fluid.
- Set the chilled shell on the preheated baking sheet and pour in the filling, leaving 1/4 inch of headroom.
- Bake at 425F for 15 minutes, then reduce the temperature to 350F (175C).
- Bake 40 to 50 minutes more, until the edges are set and the center jiggles slightly when nudged.
- Cool on a wire rack for at least 2 hours, then refrigerate. Serve chilled or at room temperature with whipped cream.
- Prep Time: 20 minutes
- Cook Time: 55 minutes