

In this article:
Why You Will Love This Recipe
This homemade peppermint bark works because it respects one simple truth: great candy needs great chocolate. Two kinds of real chocolate, dark and white, form clean layers that snap instead of crumble. A measured half teaspoon of peppermint extract in each layer gives cool, even mint flavor without the harsh bite that ruins cheaper bark. Crushed candy canes on top add crunch and that unmistakable red and white holiday look.
The method is built for reliability, not luck. Melting in the microwave in short bursts keeps the chocolate smooth and glossy, and spreading each layer thin means fast, even setting. Chilling the dark layer just until it is firm but not ice cold lets the white chocolate bond to it, which is the real secret against layers sliding apart. Every step has a reason, and every reason shows up in the finished candy.
Most peppermint bark fails in one of three ways, and this recipe guards against all three. Seized, grainy chocolate comes from water contact or overheating, so the instructions keep both far away. Rubbery layers that peel apart come from a bottom layer chilled too hard, so the timing is specific. Faded, dusty candy cane topping comes from crushing too early, so you crush right before sprinkling. Small details, big difference.
What you get is peppermint bark that tastes like the expensive tins from the specialty shop. The dark chocolate is rich and slightly bitter, the white chocolate is sweet and creamy, and the peppermint cuts through both with cool brightness. Each piece shatters cleanly, then melts slowly. If you love make-ahead holiday candy, our peppermint white chocolate fudge uses the same flavor logic in a creamier form.
Taste and Texture Profile
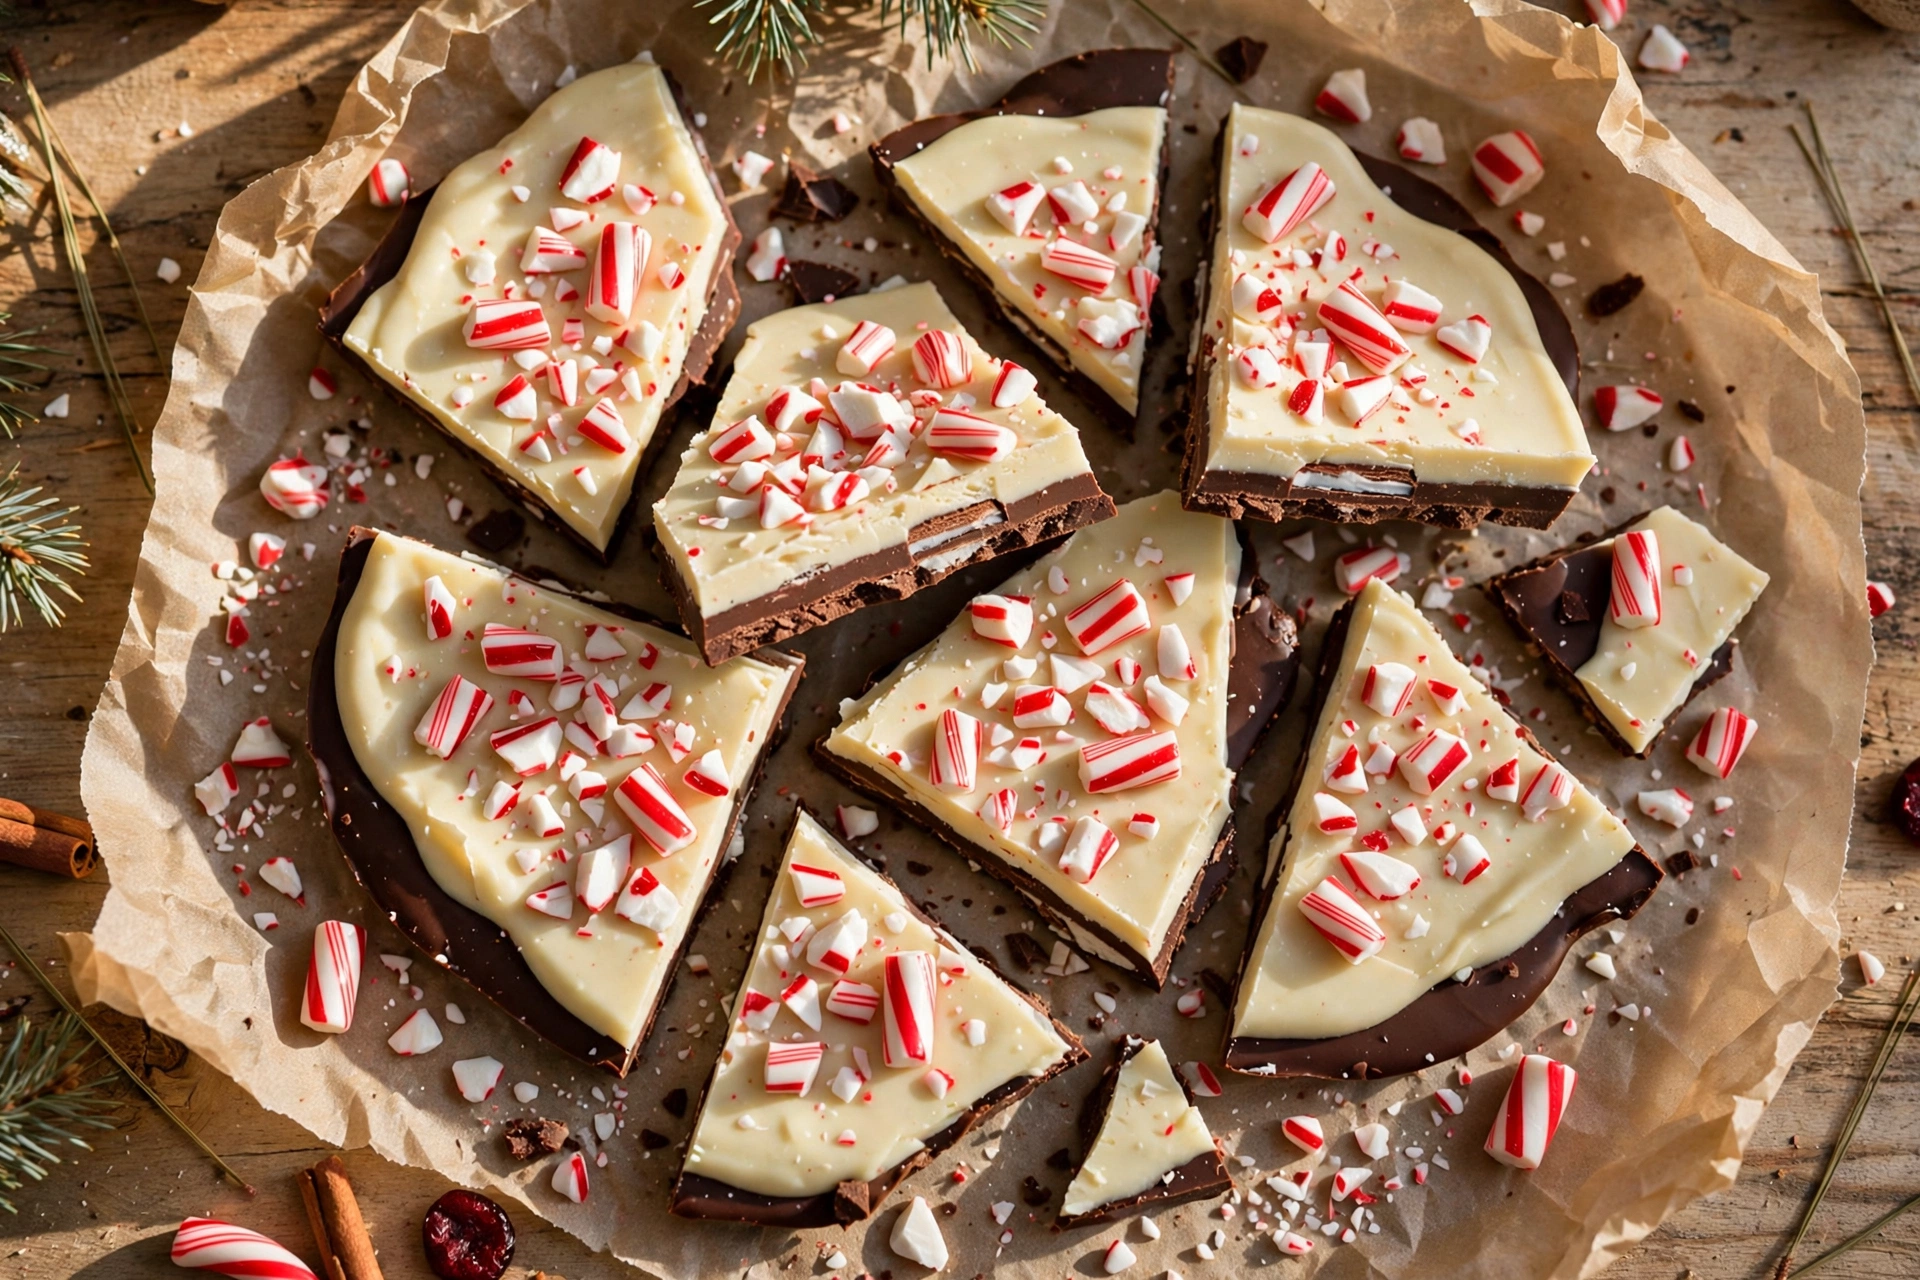
The first bite is all contrast. Cool peppermint hits first, bright and clean, then the white chocolate melts into creamy sweetness. The dark chocolate underneath answers with deeper, slightly bitter cocoa notes that keep the sweetness from turning one-dimensional. It is a three-act flavor in a single square inch.
The peppermint itself deserves attention. Pure peppermint extract gives a cool, almost chilly sensation that reads as refreshing rather than sharp. Candy canes add a milder, sweeter mint that sits on top of the flavor. Together they create layers of mint the same way the chocolate creates layers of cocoa, which is why the candy tastes more complex than its four ingredients suggest.
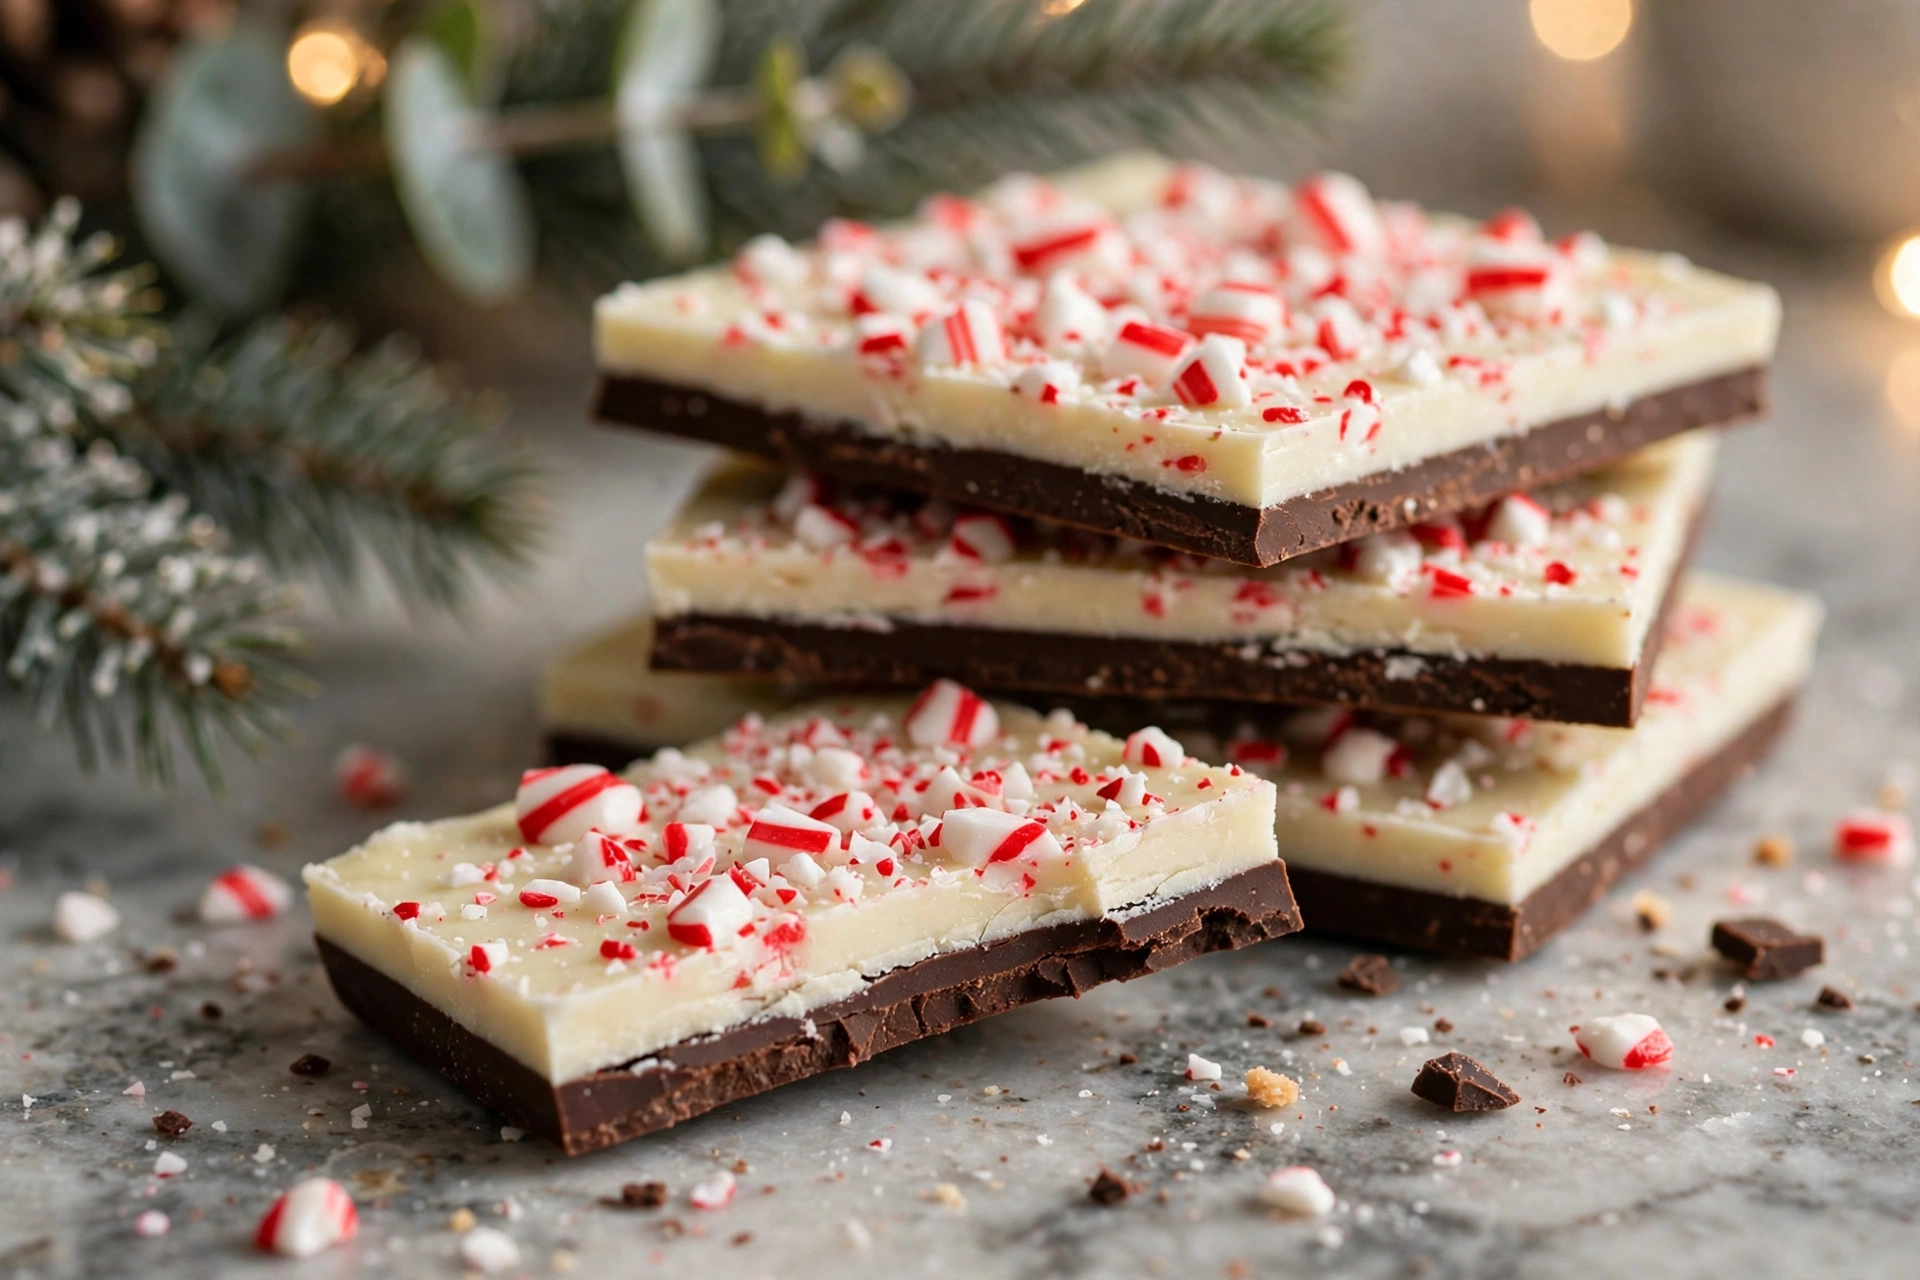
Texture is where homemade bark beats the store-bought tins. A proper snap when you break a piece signals well-handled chocolate, thin enough to shatter but thick enough to feel substantial. The white layer should be smooth and creamy on the tongue, never waxy or gritty. If your white chocolate seized even slightly, you will feel it here, which is why gentle melting matters so much.
The candy cane topping does two jobs at once. Visually, those red and white shards turn brown and cream chocolate into instant Christmas. Texturally, they add a glassy crunch that contrasts with the slow melt of the chocolate. Crush them to a mix of small chunks and coarse crumbs, and sift out the finest dust, because dust dissolves into the white chocolate and tints it pink.
Quick and Easy Preparation
This is a twenty-minute recipe wearing a fancy dress. Active work means melting, spreading, sprinkling, and breaking, and none of it requires skill beyond stirring. The refrigerator contributes about an hour and a half of chilling, all of it hands-off. You can start after lunch and have gift-ready candy before dinner.
Cookie exchanges, office parties, and neighbor gifts are where this bark shines. One batch makes about twenty-four generous pieces, enough for several gift bags with pieces to spare for quality control. The pieces stack neatly in tins with parchment between layers, and they travel well because there is nothing soft or frosted to smudge.
Beginners succeed here because the visual cues are obvious. Melted chocolate should look glossy and flow slowly off the spatula. The dark layer is ready for its white blanket when it looks matte and feels firm to a light touch. The finished bark is done chilling when it lifts cleanly from the parchment in one sheet.
Cleanup is nearly nonexistent, which matters in busy December kitchens. The bowls rinse clean with hot water before the chocolate sets, and the baking sheet just needs its parchment tossed. Compare that to cutout cookies with their flour-dusted counters, and bark starts looking like the smartest holiday choice. For another low-effort showpiece, our chocolate yule log cake delivers big holiday drama from simple components.
Lighter and Diet Adaptations
Peppermint bark is candy, and this recipe does not pretend otherwise. Still, small choices trim it sensibly. Using dark chocolate with 70 percent cacao for the base layer cuts sugar while adding deeper cocoa flavor. The white layer stays classic, because white chocolate is the whole point of the contrast, but thinner layers overall mean smaller, more reasonable pieces.
A dairy-free version is straightforward if you choose your chocolate carefully. Many dark chocolates are naturally dairy-free, so check the label and pick one without milk fat. Dairy-free white chocolate exists from several specialty brands, and it melts similarly to the classic kind. The method does not change at all, only the shopping list.
For a lower-sugar approach, sugar-free chocolates sweetened with stevia or erythritol melt and set like their classic counterparts. Pair them with sugar-free peppermint candies for the topping. The texture will be very close to the original, though the flavor is milder, so add the full measure of extract and taste before the white layer sets.
Ingredients
Gather everything before melting begins, because chocolate waits for no one once it is fluid. Chop bar chocolate into even pieces so it melts at the same rate. Unwrap the candy canes before you start, since sticky fingers and foil wrappers are a frustrating combination. Pure peppermint extract, not imitation, gives the cleanest flavor.
- 12 ounces (340 g) semi-sweet or dark chocolate, chopped (about 2 cups)
- 12 ounces (340 g) white chocolate, chopped (about 2 cups)
- 1 teaspoon pure peppermint extract, divided
- 1/2 cup crushed candy canes (about 6 standard candy canes)
The chocolate choice makes or breaks this candy. Chopped bar chocolate melts smoother than chips because chips contain stabilizers that help them hold their shape in cookies. If bars are all you can find in chip form, add a teaspoon of coconut oil per twelve ounces to help them flow. Either way, taste the chocolate first, because the bark can only taste as good as what goes into it.
On the white chocolate, read the label and look for cocoa butter in the ingredients. True white chocolate lists cocoa butter near the top, while cheaper white chips use palm oil and taste waxy. The difference is dramatic in a recipe where white chocolate is half the candy. It is worth the slightly higher price for a treat you will gift to people you like. King Arthur Baking explains how to melt chocolate smoothly, and their advice about gentle heat applies directly here.
Peppermint extract is potent, so measure carefully and add it off the heat. Stirring extract into very hot chocolate can flash off the volatile mint compounds and dull the flavor. Half a teaspoon per layer is the tested ratio, cool and present without overwhelming the cocoa. Peppermint oil is stronger still, so if you substitute, use only a few drops.
Step by Step Instructions
Line a rimmed baking sheet with parchment paper, leaving overhang on two sides for easy lifting later. Set it near your work area before any chocolate melts. Place the unwrapped candy canes in a zip-top bag, press out the air, and crush with a rolling pin into a mix of small chunks and coarse crumbs.
- Melt the dark chocolate. Place the chopped dark or semi-sweet chocolate in a microwave-safe bowl. Microwave at 50 percent power for 30 seconds, then stir well. Repeat in 30-second bursts, stirring between each, until the chocolate is about 90 percent melted. Stir off the heat until completely smooth. Stir in 1/2 teaspoon of the peppermint extract.
- Spread the first layer. Pour the melted dark chocolate onto the prepared baking sheet. Spread with an offset spatula into an even rectangle about 1/4 inch thick. Tap the pan gently on the counter once or twice to level the surface and release air bubbles.
- Chill briefly. Refrigerate the dark layer for 12 to 15 minutes, just until it looks matte and feels firm when touched lightly. It should not be ice cold, because the white layer bonds best to a cool but not frigid surface. Start melting the white chocolate when the dark layer has about 5 minutes of chilling left.
- Melt the white chocolate. Melt the chopped white chocolate exactly as you melted the dark, using 50 percent power and 30-second bursts with stirring. White chocolate scorches faster than dark, so stop when a few small lumps remain and stir them out off the heat. Stir in the remaining 1/2 teaspoon of peppermint extract.
- Spread the second layer. Pour the white chocolate over the chilled dark layer. Spread gently to the edges, covering the dark chocolate completely. Work with light strokes so you do not drag up the bottom layer.
- Add the topping. Immediately sprinkle the crushed candy canes evenly over the white chocolate. Press them very lightly with clean fingertips or the back of a spoon so they anchor into the surface. Do not press hard enough to disturb the layer beneath.
- Chill until firm. Refrigerate for about 1 hour, until the bark is completely firm and lifts from the parchment in a single sheet. Break into rustic pieces by hand, or cut with a large sharp knife for neater squares. Store as directed below.
The stovetop method works just as well if you prefer it. Set a heatproof bowl over a saucepan of barely simmering water, making sure the bowl does not touch the water. Add the chocolate and stir gently until smooth, keeping every drop of water and steam away from the bowl. One splash of water will seize the whole batch, which is the one real danger in this recipe.
Pro Tips for Perfect Results
Keep water away from chocolate at every stage. Even a damp spatula can introduce enough moisture to make melted chocolate seize into grainy lumps. Dry your bowls, spatulas, and hands before starting. If seizing happens anyway, stir in a teaspoon of neutral oil or coconut oil and keep stirring, which often rescues the texture enough for bark.
Do not overheat in the microwave. Chocolate holds its shape even when melted inside, so judge doneness by stirring, not by appearance. When the chocolate looks about 90 percent melted with a few soft lumps, stop microwaving and stir until smooth. Residual heat finishes the job, and this single habit prevents most grainy white chocolate disasters.
Time the first chill precisely. Twelve to fifteen minutes gives a dark layer that is set but still cool rather than cold, and the white chocolate grips it firmly. A layer chilled for an hour contracts and turns slick, which is why separated layers happen. Set a timer, because guessing is how bark delaminates in the gift tin.
Crush the candy canes just before sprinkling. Crushed candy absorbs moisture from the air and turns sticky within hours, which makes it clump instead of scattering. The zip-top bag method keeps shards contained and gives satisfying stress relief. Sifting out the powder-fine dust keeps the white layer bright instead of pink-streaked.
Easy Swaps and Tasty Variations
Swap the dark base for milk chocolate if your crowd prefers sweeter candy. Milk chocolate melts the same way and pairs beautifully with the white layer, though the finished bark tastes noticeably sweeter overall. Reduce the candy cane topping slightly so the sweetness stays balanced, or keep it and embrace the sugar rush.
Try a mocha bark by stirring a teaspoon of instant espresso powder into the dark chocolate as it melts. Coffee deepens cocoa flavor without making the bark taste like coffee, and peppermint plus mocha is a classic holiday combination. Top with crushed candy canes as usual, and watch it disappear first from every dessert table.
Make a triple layer for visual drama. Split the white chocolate in half and tint one half pale pink with a drop of gel food coloring, then layer dark, white, and pink. The cross-section looks stunning in gift bags. Keep each layer thin so the total stays near a quarter inch.
Add texture with mix-ins pressed into the white layer alongside the candy canes. Crushed pretzels bring salty crunch, toasted chopped pistachios add color and richness, and mini marshmallows make a kid-friendly version. Keep total toppings near half a cup so the chocolate still shows through. For more Christmas baking inspiration, our chewy gingersnap cookies share the same giftable spirit.
How to Store and Make Ahead
Store the bark in an airtight container at cool room temperature for up to one week, or in the refrigerator for up to two weeks. Layer pieces between sheets of parchment so the candy cane topping does not scratch the chocolate below. Keep the container away from strong odors, because chocolate absorbs them eagerly.
Refrigeration is the better choice for make-ahead gifting. The bark stays snappy and the peppermint flavor stays bright for a full two weeks chilled. Bring the container to cool room temperature about fifteen minutes before serving for the best texture. Avoid the freezer, because condensation forms on the candy canes as it thaws and turns them sticky.
For gifting, pack pieces in cellophane bags tied with ribbon or in small tins lined with parchment. A handwritten tag with the date keeps things charming and practical. The bark travels well at cool temperatures, so it survives car rides to parties and shipping to nearby family without special handling. If you are building a dessert table, pair it with our white chocolate cranberry cheesecake for a red, white, and chocolate theme that photographs beautifully.
Conclusion
This homemade peppermint bark proves that the most impressive holiday candy is often the simplest. Two chocolates, real peppermint, and crushed candy canes become something far greater than the sum of their parts. No thermometer, no tempering, no stress, just twenty minutes of melting and spreading plus a patient hour in the refrigerator.
Make a batch this weekend and taste the difference that real bar chocolate makes. Package some for gifts, keep some for yourself, and notice how fast the tin empties. When the compliments come, and they will, you can smile and say it took twenty minutes. Some secrets are worth keeping, and some recipes are worth repeating every December.
FAQ
Why did my white chocolate turn grainy or seize?
White chocolate seizes when water touches it or when it overheats in the microwave. Even a damp spatula can cause graininess. Melt at 50 percent power in 30-second bursts, stop at 90 percent melted, and stir smooth off the heat. Keep all water and steam far from the bowl.
Can I use almond bark instead of real chocolate?
Yes, almond bark works and is very forgiving for beginners since it melts smoothly and sets firmly. The flavor is sweeter and less complex than real chocolate, so use the full measure of peppermint extract. Choose real bar chocolate when gifting, since the taste difference is noticeable.
How far ahead can I make peppermint bark for Christmas gifts?
Make it up to two weeks ahead and store it in an airtight container in the refrigerator, layered between parchment sheets. The flavor stays bright and the snap stays crisp. Avoid the freezer, because condensation makes the candy cane topping sticky as it thaws.
Why are my layers separating?
Layers separate when the bottom layer is chilled too long and turns ice cold, so the top layer cannot bond to it. Chill the dark layer only 12 to 15 minutes, until firm but still cool, then pour the white chocolate over it right away. Pouring warm white chocolate over a frigid layer is the classic cause.
Do I need peppermint extract if I already use candy canes?
Yes, the extract does the real flavor work. Candy canes contribute mostly crunch and looks, with only mild mint flavor. Half a teaspoon of pure peppermint extract per twelve ounces of chocolate gives the cool, even peppermint taste that defines the candy. Without it, the bark tastes like plain chocolate with crunchy bits.
Homemade Peppermint Bark
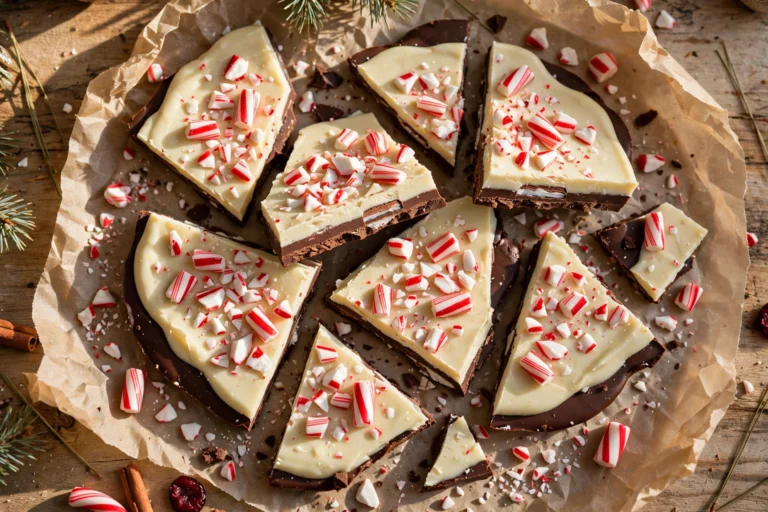
Crisp peppermint bark with layers of dark and white chocolate and a crushed candy cane topping. A 20-minute no-bake Christmas candy made for gifting.
- Total Time: 1 hour 30 minutes
- Yield: 24 pieces 1x
Ingredients
- 12 ounces (340 g) semi-sweet or dark chocolate, chopped
- 12 ounces (340 g) white chocolate, chopped
- 1 teaspoon pure peppermint extract, divided
- 1/2 cup crushed candy canes (about 6 candy canes)
Instructions
- Line a rimmed baking sheet with parchment paper, leaving overhang on two sides for easy lifting.
- Place the unwrapped candy canes in a zip-top bag and crush with a rolling pin into small chunks and coarse crumbs.
- Melt the dark chocolate in a microwave-safe bowl at 50 percent power in 30-second bursts, stirring between each, until about 90 percent melted. Stir smooth off the heat, then stir in 1/2 teaspoon peppermint extract.
- Pour onto the prepared sheet and spread into an even 1/4-inch layer. Refrigerate 12 to 15 minutes, until firm but not ice cold.
- Melt the white chocolate the same way, stopping at 90 percent melted and stirring smooth off the heat. Stir in the remaining 1/2 teaspoon peppermint extract.
- Pour over the chilled dark layer and spread gently to cover. Immediately sprinkle with the crushed candy canes and press very lightly so they anchor.
- Refrigerate about 1 hour until completely firm. Lift from the parchment and break into pieces.
- Prep Time: 20 minutes
- Cook Time: 10 minutes


2 thoughts on “Homemade Peppermint Bark: Crisp, Cool and Gift-Ready”